When it came time to start the game, Paul elected to stick with the Imperials and try to correct the loss of the first game, and so I was given command of the Swedes once again. The roll for initial forces for the Swedes saw the Schlammersdorf, Blue and Hepburn infantry regiments turn up.
 |
| Schlammersdorf begin their advance, under the watchful eye of Gustavus Adolphus himself |
 |
| The Swedes advance along the flanks, as the Imperials begin to show up in the camp |
 |
| The Swedish Blue regiment accompanied by Baner |
 |
| The Imperial Aldringen regiment take up position in the camp, as Wallenstein gazes on |
 |
| More Imperial reinforcements - the Loebl (top left) and Jung-Tilly regiment (bottom left) |
 |
| The second wave of Swedes - we were lucky to get every unit on by this stage |
 |
| Schlammersdorf advance under fire from the Aldringen regiment |
 |
| Tott's Kurassiers advance onto the field, followed by the Swedish Yellow regiment |
 |
| The Red regiment advance alongside the Upplands cavalry |
 |
Aldringen take up position on the edge of the camp board,
while Jung-Tilly advance in support |
 |
| Schlammersdorf approach the Imperial lines, with the Vastgota cavalry advancing in support |
 |
| View from the rear of the Swedish lines as the first units approach Imperial lines |
 |
| View of the approaching Swedes from the Imperial PoV! |
 |
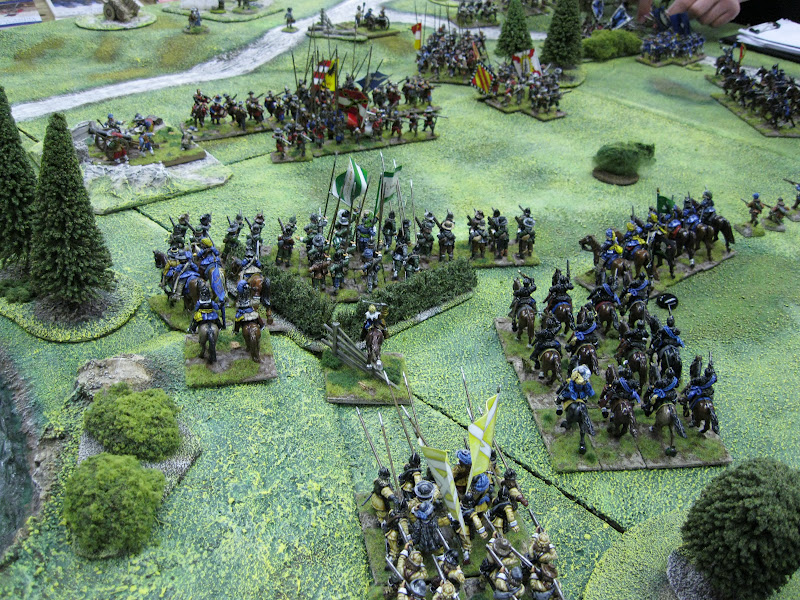
The Vastgota cavalry form line to charge, while
Schlammersdorf struggle across the inconvenient shrubbery |
 |
| Lots of Imperials! |
 |
The backlog of Swedish troops mounts up
(for some reason, they all showed up on the left flank!) |
 |
View towards the Imperial centre; Jung-Tilly have formed square ahead of the Vastgota and
Upplands cavalry, while Schlammersdorf and Aldringen struggle with each other |


No comments:
Post a Comment