Showing posts with label Thirty Years' War. Show all posts

Tuesday, 11 December 2012

The Battle of Lech (sort of...)

After much ado then, here are the collected pics of the game we put on at Wargamer this year!

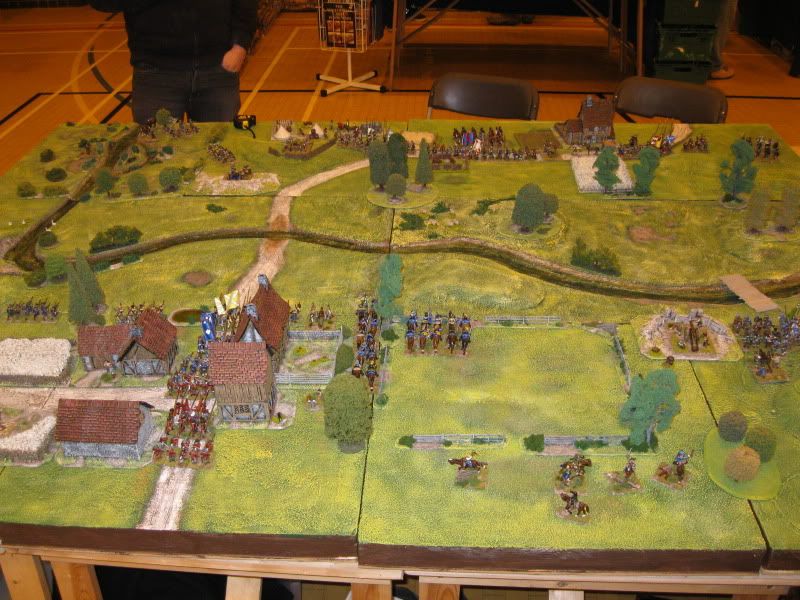
As mentioned previously we came up with a different scenario this time round, and used most of the existing terrain boards with only the addition of a couple of extra river sections. I apologise in advance for the poor lighting of the photos!

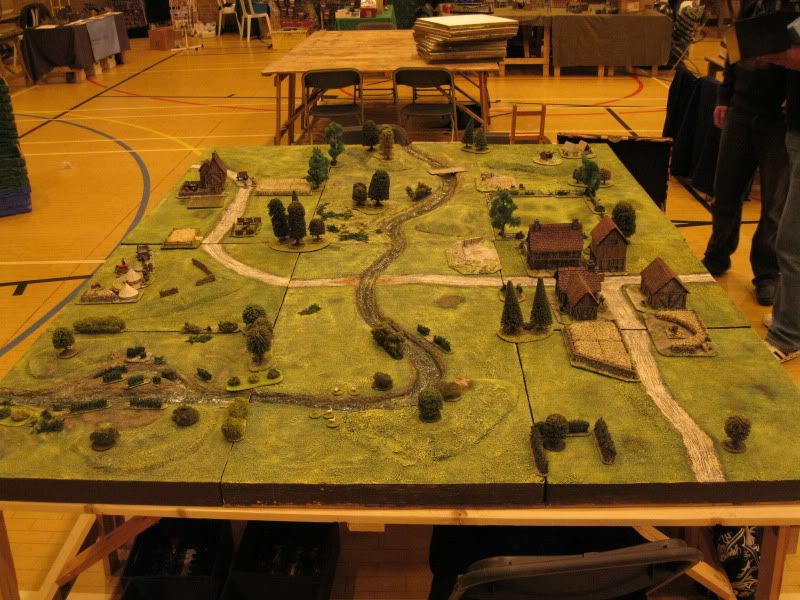
The table viewed from the Swedish side
From the Swedish left flank
And the Swedish right flank
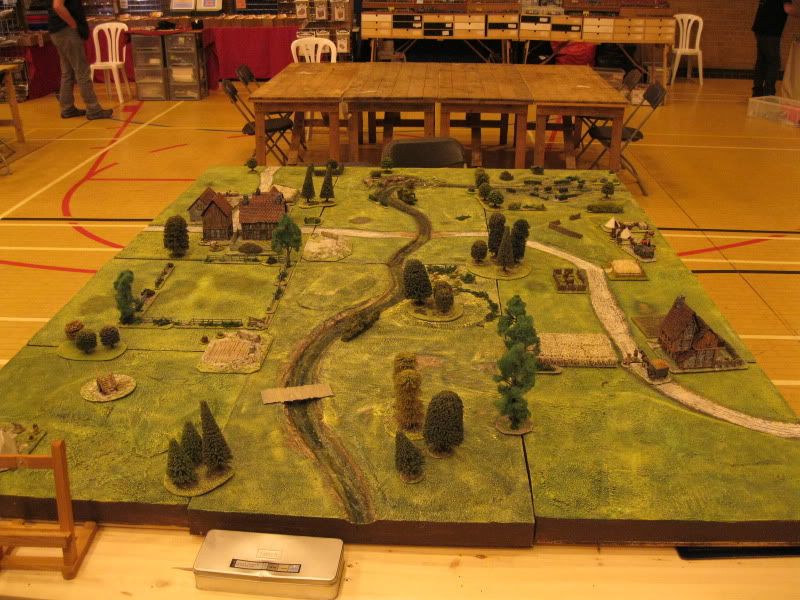
Finally, the view from the Imperial side (sort of...)

The table was laid out as above, with the river obviously being the main feature. The objective for both sides was to force their way across the river, whilst preventing the opposition from doing the same. There were ostensibly two crossing points (the ford and the bridge) but a third 'secret' crossing point was also available for the Swedes via the marsh on the Imperial right flank.

We used the Black Powder rules from Warlord Games for the battle; it was only our third or fourth outing with them, so we were expecting a few mistakes along the way.

The forces take up their positions
The game began with mixed fortunes for both sides; the Swedish cavalry got off to a flying start and began racing towards the marsh on the Swedish left flank. The Swedish infantry in the centre got off to a slow start as they made their way to the ford. The Swedish right, held by Hepburn's Scots and Schlammersdorf's regiment, didn't get off to a start at all as they failed their command roll. 

The Imperials suffered even worse, managing only to move a single regiment in their first turn before the rest of the army was halted by a failed command roll.

The Swedish cavalry brigade begin their charge down the left flank;
unbeknown to the Imperial commander, the marsh was in fact fordable

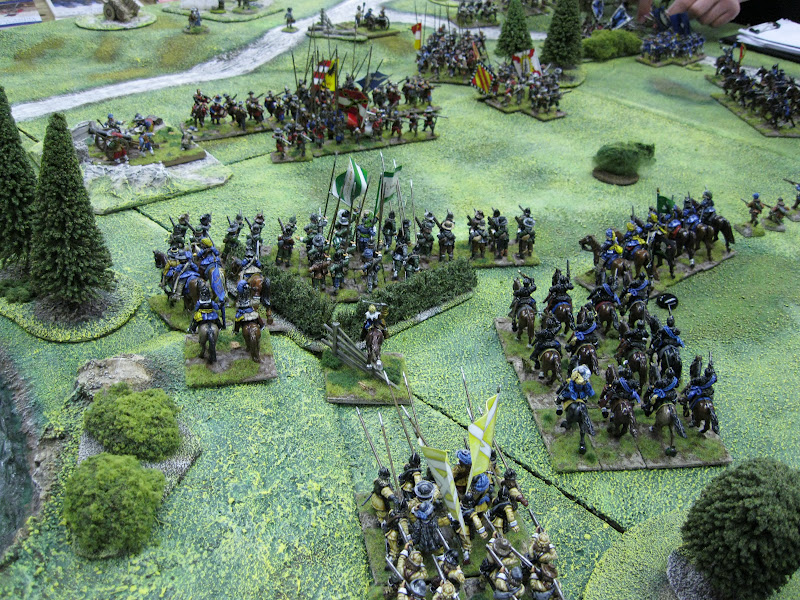
Meanwhile, the Swedish infantry begin their (slow) advance to cross the ford

Failed command rolls would become a regular feature as the game wore on; the advance of the Swedish infantry was incredibly slow, due in part to the pile-up of units, but also due to not rolling low enough to allow sufficient moves. If the Command rolls had been better, the Imperials would really have been in trouble!   As it was, they had time to get a few units in position to contend the crossing, although they were plagued by poor Command rolls themselves. 

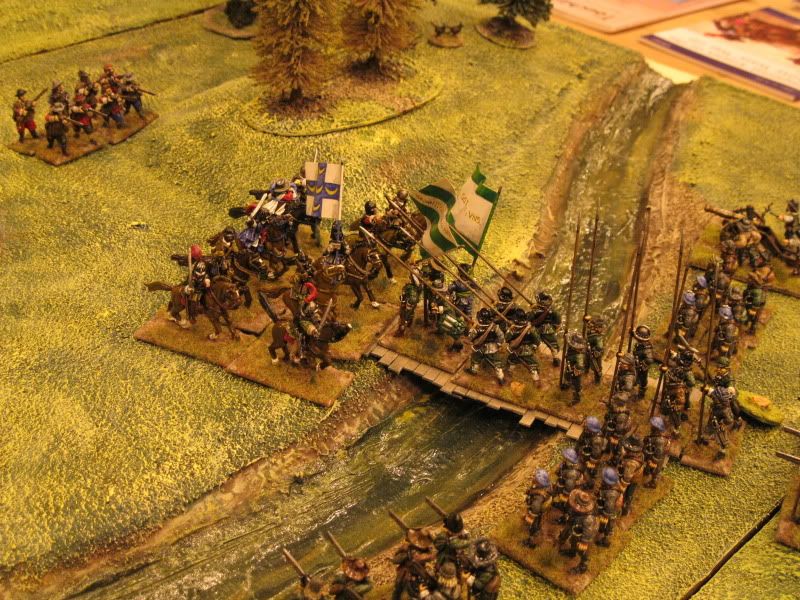
Meanwhile, on the Swedish right, things were really stalling - Hepburn's Scots managed two turns of failed Command rolls and found themselves in the middle of the bridge, disordered and charged by Imperial cavalry. Needless to say, they were quickly routed. However, the Schlammersdorf regiment was there to take up the position vacated by the Scots. 

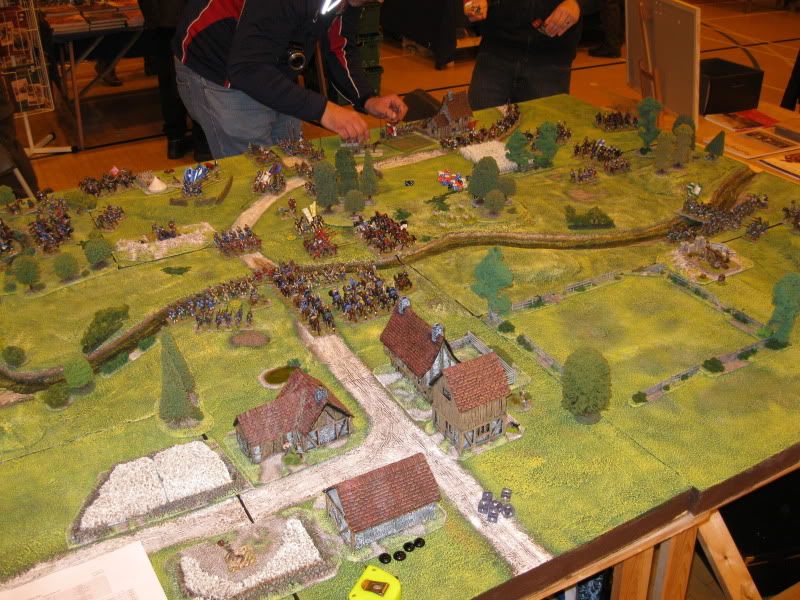
The pile-up at the ford

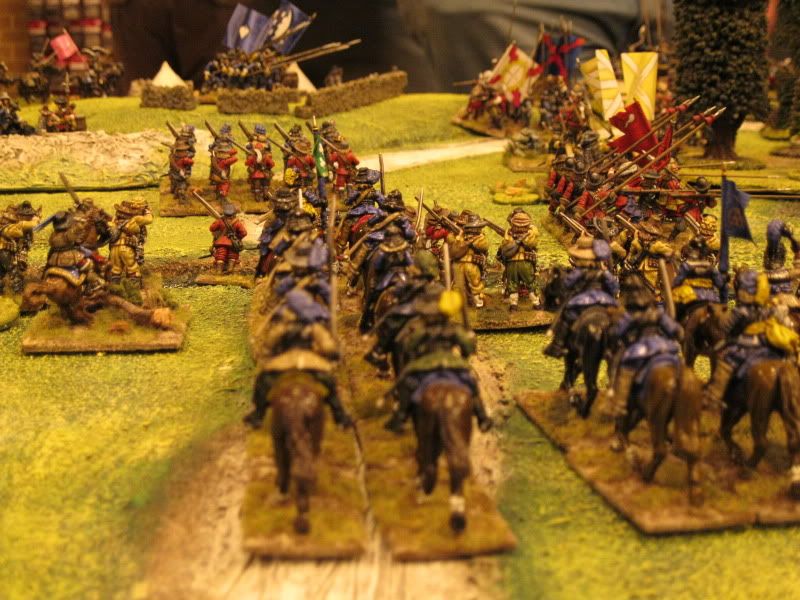
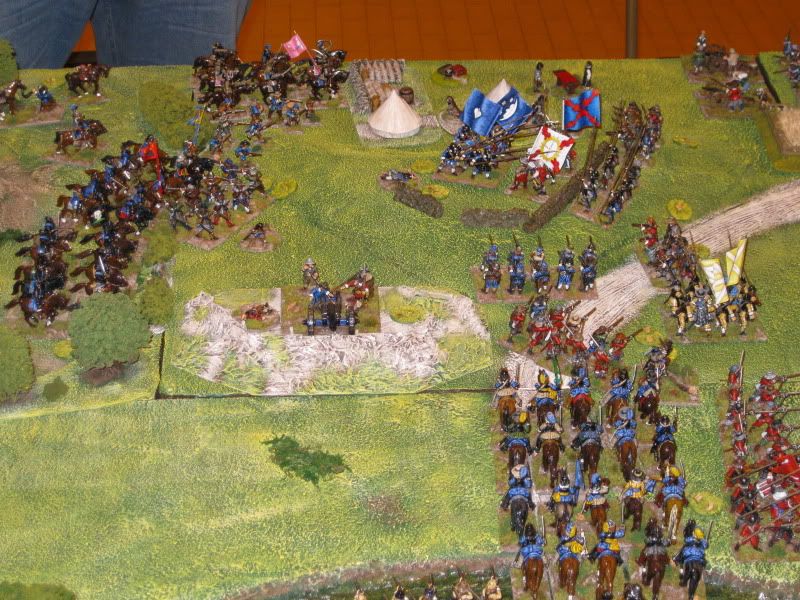
Finally, a breakthrough came at the ford as the Swedish Blue pikemen made a successful three-move charge across the river and into the Imperial musketeers guarding the crossing. They smashed the musketeers aside, but were then faced with a difficult choice; whether to fall back and hand the initiative to the Imperials, to stand still in the face of cannon fire and muskets, or to advance even further into Imperial lines unsupported. In the end they bravely (foolishly?) advanced as far as they could towards the cannon directly ahead of them, hoping to suffer few casualties before charging the following turn.

View from the Swedish rear; you can just see the Swedish Blue pikemen
in the distance after their successful breakthrough
Luckily, the Swedish Blue's breakthrough proved to be the opening the Swedes needed. They were shortly followed by the Swedish Yellow and Red regiments and the Imperial lines began to crumble. Yet there was another twist of fate, as the Imperial reinforcements chose this moment to show up just in time to face off against the (slowly) rampaging Swedes.

Finally, the Swedes get the majority of their force across the river,
just in time to join up with the flanking cavalry force
Meanwhile, on the right flank, the ambitions of the Imperial cavalry were continually thwarted by the Schlammersdorf regiment. Finding themselves stuck on the bridge in much the same way as Hepburn's Scots (failing their Command roll four turns in a row!), they nevertheless managed to hold off repeated cavalry charges despite being out of formation and disordered.
Meanwhile, on the Swedish right, the Schlammersdorf
regiment continue to frustrate the Imperial cavalry

The battle continued for just a couple more turns, but it was clear that the Swedes had won a convincing victory. They had claimed two of the crossing points comprehensively, had denied the other to the Imperials, and in the end had broken two Imperial brigades for the cost of just two regiments of pikemen. Another Swedish victory!  

Wednesday, 28 November 2012

How Time Flies!

Wow, these last three weeks have gone quick! It seems the closer we get to the end of the year, the faster time seems to fly by.

In the intervening weeks since my last post though, time seems to have gone so quickly that I've not had a moment to really make much progress with anything. It also surprised me to find that we're now only 4 days away from Wargamer 2012, and so all other projects have been frantically shoved aside in order to make our preparations.

Yes, the Wyrley Retinue are once again putting on a game at this local show, and we're bringing out the Thirty Years' War again. Having run our Battle of Steinkirche (based on Steenkerke, 1692) at last year's Wargamer, as well as at Alumwell WMMS this year, we're changing the game a bit with a new scenario and a new layout (mostly utilising our existing terrain boards, but with a couple of new additions).

This time out, we're basing our game on the Battle of Lech 1632 (also known as the Battle of Rain). The scenario, as in the original battle, is based on a river crossing; the Swedes want to cross the river Lech and find their army opposed by the Imperialists. The Imperialists, however, believe that the Swedish army is only a diversionary army and so they dispatch half their forces further downriver to where they believe the rest of the Swedish army is gathering. As it turns out, there is no "other Swedish army" and in fact the Swedish force facing the now-reduced Imperialist army across the river Lech is the *entire* Swedish army (i.e. it's not a diversion). The Imperialists find themselves facing an army of around 45,000 Swedes with only 25,000 men of their own, and so the scene is set for our own battle.

Of course, those who have seen our boards for the Steinkirche game will notice a distinct lack of river, and so new boards were commissioned from the WRTMF (or "Wyrley Retinue Terrain Making Factory" aka Gary's back garden...).

With judicious use of our existing boards, we were able to come up with a layout that kept our new terrain requirements down to just two new boards - another 4'x2' board and another 2'x2' board, both made up as river/water "tiles".


The two new tiles, textured and ready for painting
Since the above pictures were taken, the boards have been painted and the river was ready for varnishing. All that's left at this stage is finishing off the various other bits that go along with the game (such as extra figures, casualty markers, plus more scenery).

I might get chance to update on progress again prior to Sunday, but if not, I'll report after the show on how it all goes! If you're in the Great Barr area on Sunday, why not pop along and come have a chat :)

Wednesday, 14 March 2012

WMMS 2012: Steinkirche Part III

The view from above!

The action hots up as the Schlammersdorf Regt. continue to plough their way through Aldringen

...only to then find themselves faced with a fresh veteran heavy-armoured Nuremberg regiment

Fierce fighting between Nuremberg (left) and Schlammersdorf (right)

The Swedish Yellow regt., heroes of the last game, advance to support Schlammersdorf

Meanwhile, in the village, the Schwarze Kurassiers show up on the flank of the fleeing Red regt.

The much-reduced Schlammersdorf and Nuremberg regiments continue fighting,
with the Yellow regiment now deployed to support

On the Swedish right flank, the Blue regiment continue their stoic fight against Loebl
while Hepburn's Scots march onto the camp unopposed

The view from the Imperial Saker downhill towards Hepburn's Scots 

View from behind the Swedish lines

The Nuremberg regiment finally see off Schlammersdorf,
only to find themselves facing the fresh Yellow regiment

And here the game ended. The fighting on the Swedish left flank had been fierce, and they were just inches short of the camp board, but on the right flank the Blue regiment and Hepburn's Scots punched through and seized victory. Two out of two wins for the Swedes!

As I mentioned earlier, we won the prize for 3rd Best Demo Game. The two games that beat us were Leamington, with a Wild West/Cowboys & Indians game, and Shrewsbury/Like A Stonewall with the same pirate game they showed at Wargamer (which we beat to 1st prize there!)

Leamington's 2nd place winning game

A couple of better shots of the pirate game


In all honestly, even though 3rd prize is a respectable achievement for only our second outing, we came away feeling a little disappointed after having seen who (or rather, what) we were beaten by. Of course, we're biased but we thought we were better than 3rd. Still, it leaves room for more improvement and we at least came away winning something which is what we aimed for!

WMMS 2012: Steinkirche Part II

When it came time to start the game, Paul elected to stick with the Imperials and try to correct the loss of the first game, and so I was given command of the Swedes once again. The roll for initial forces for the Swedes saw the Schlammersdorf, Blue and Hepburn infantry regiments turn up.


Schlammersdorf begin their advance, under the watchful eye of Gustavus Adolphus himself

The Swedes advance along the flanks, as the Imperials begin to show up in the camp

The Swedish Blue regiment accompanied by Baner

The Imperial Aldringen regiment take up position in the camp, as Wallenstein gazes on

More Imperial reinforcements - the Loebl (top left) and Jung-Tilly regiment (bottom left) 

The second wave of Swedes - we were lucky to get every unit on by this stage

Schlammersdorf advance under fire from the Aldringen regiment

Tott's Kurassiers advance onto the field, followed by the Swedish Yellow regiment

The Red regiment advance alongside the Upplands cavalry

Aldringen take up position on the edge of the camp board,
while Jung-Tilly advance in support


Schlammersdorf approach the Imperial lines, with the Vastgota cavalry advancing in support


View from the rear of the Swedish lines as the first units approach Imperial lines

View of the approaching Swedes from the Imperial PoV!


The Vastgota cavalry form line to charge, while
Schlammersdorf struggle across the inconvenient shrubbery

Lots of Imperials!

The backlog of Swedish troops mounts up
 (for some reason, they all showed up on the left flank!)


View towards the Imperial centre; Jung-Tilly have formed square ahead of  the Vastgota and
Upplands cavalry, while Schlammersdorf and Aldringen struggle with each other

WMMS: The Aftermath

Phew! The fun and games of Alumwell are over for another year, and it's taken the last 24 hours to recover. A bigger show than Wargamer, so correspondingly it was a lot more work. It was worth it though, because we came away with our second trophy - we won 3rd Best Demo Game (behind Shrewsbury/Like a Stonewall and Leamington respectively, both of whom always seem to win 1st and 2nd every year...). So that's two awards from two shows, which is definitely something to be proud of! More on that later though...

Without further ado, roll the pictures!