It's taken me a few days, but I've finally got round to uploading all the pictures from last weekend's Wargamer show in Great Barr, Birmingham. Yet again, it was a sparsely attended affair, which seems strange considering how many hundreds attend the "West Midlands Military Show" each year just a few miles further up the M6. A distance of just some 15 or so miles from each other, and yet a vast gulf in attendance numbers, which is disappointing.
Attendance aside though, it was another successful show for us as we put on our "Battle of Kirkburn Bridge c.1314". Loosely taking elements from the battles of Bannockburn, Falkirk and Stirling Bridge, the scenario pitched the hastily assembled Scots of Robert the Bruce against a two-pronged attack from Edward II's English, who themselves had to struggle across two rivers to close on the Scots.
The Scots had assembled three divisions under the overall command of Robert the Bruce: Robert's brother Edward commanded one half of the Scottish spearmen, while the Earl of Moray brought his own troops to the foray, and Angus og McDonald roused the Highlanders and Islesmen to their king's cause.
Edward II's forces were more or less evenly divided between three of his earls: the Earl of Pembroke, Aymar de Valance, commanded English Spearmen and his own archers and knightly retinue; Henry de Bohun, the Earl of Hereford, commanded the same, while Gilbert de Clare, the Earl of Gloucester, was given the bulk of the English knights alongside more spearmen and archers.
For this first outing, Paul was given command of the Scots whilst Gary took the part of Gilbert de Clare (on account of his Gloucester heritage), leaving me with Hereford, Pembroke and Edward II himself. The rules used were 'Hail Caesar' from Warlord Games. So, without further ado, I'll let the pictures do the talking!
 |
| The Scots, not certain of the English positions, ready themselves in a corner |
 |
| The Scottish right flank - Angus og McDonald's Highland division |
 |
| View from the Scottish right flank |
 |
| Robert the Bruce surveys his troops |
 |
The English enter the field! Pembroke in the bottom-right, Hereford just in
the picture bottom-left and Gloucester in the very far left corner of the board |
 |
| Pembroke's view of the Scottish left flank in the distance |
 |
| Hereford makes his entrance, approaching the aforementioned "Kirkburn Bridge" |
 |
| Gloucester brings his troops on across the ford |
 |
| The Scottish advance is slow, too slow to prevent the English crossing both the ford and the bridge |
 |
| Gloucester's knights manoeuvre around the house to avoid the bottleneck |
 |
| Gilbert de Clare, the Earl of Gloucester himself |
 |
| The Highlanders slowly make their way out of their deployment zone! |
 |
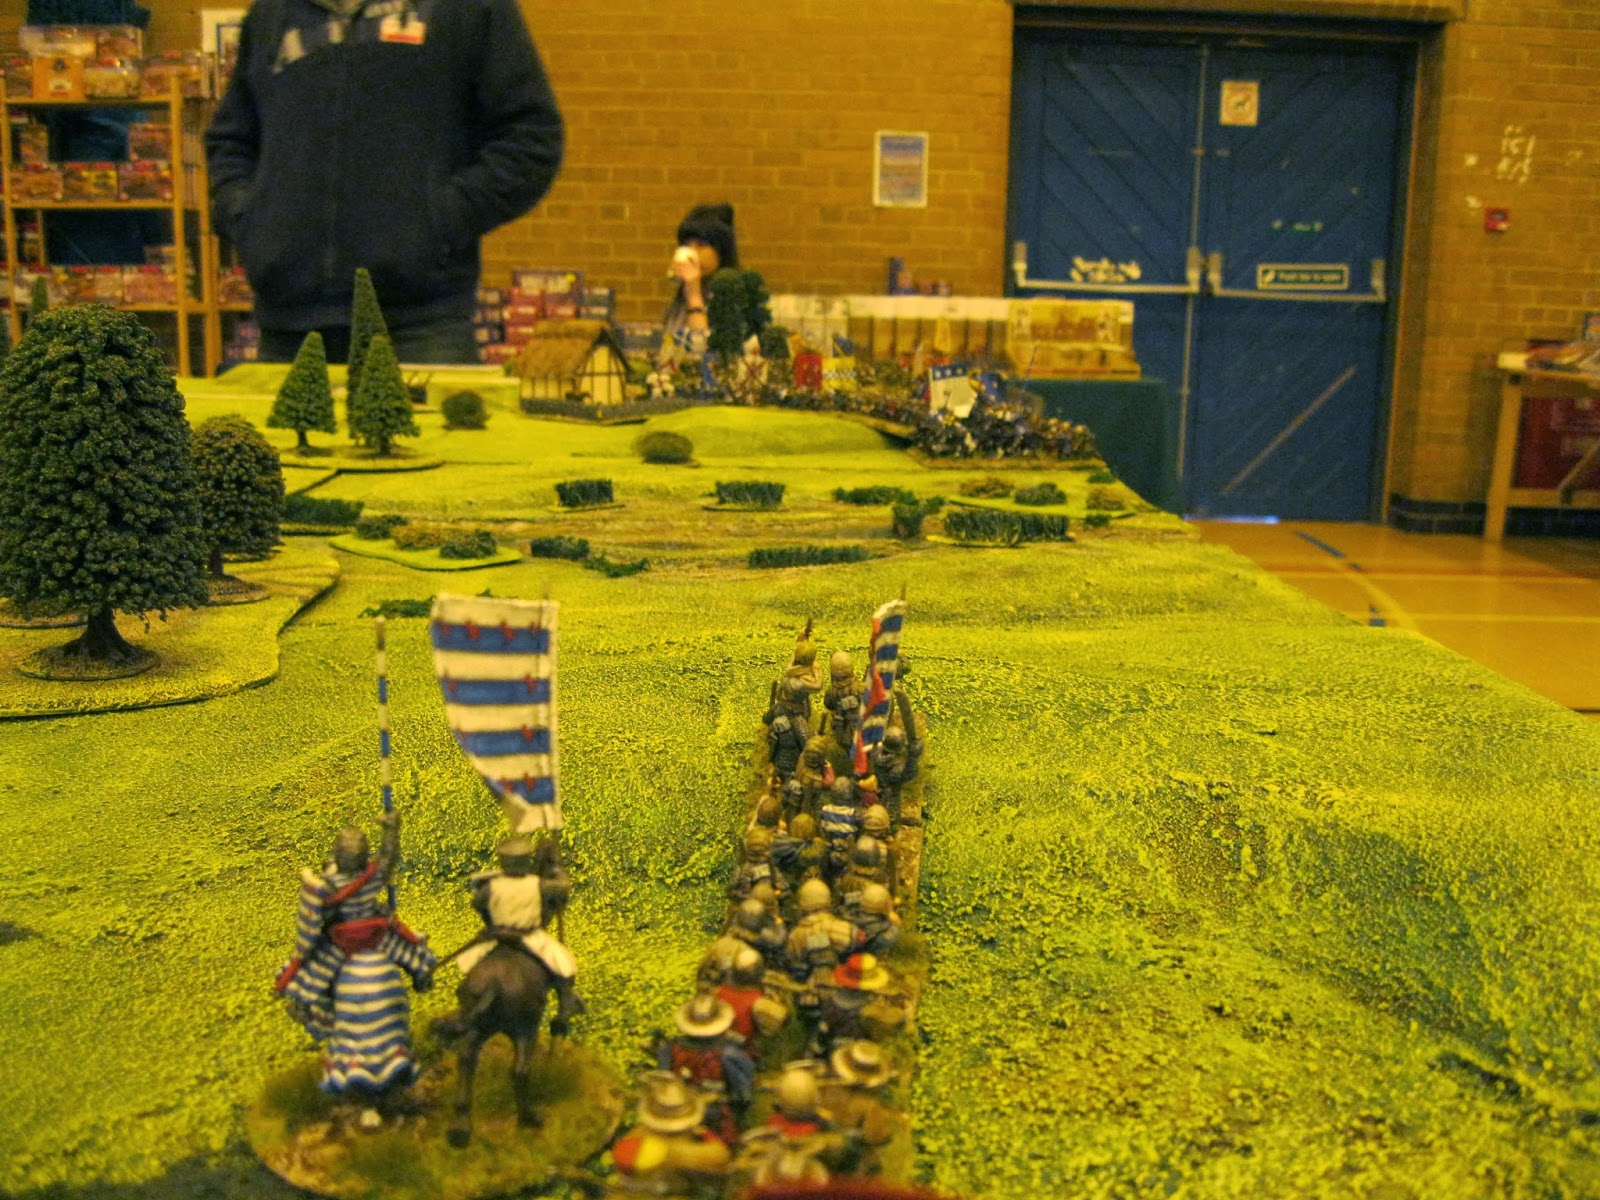
| The view of the battlefield as the battle lines approach |
 |
| The Scots finally get their act together and make more than a single move in a turn! |
 |
| A (very yellow) shot of the clash in the centre of the board, as units engage across all fronts. |
 |
The combat that would prove decisive - Clifford's retinue (along with a few Welsh Javelinmen)
thoroughly trounce the Islesmen, and create a gaping hole in the Scottish flank... |
 |
| ...which allowed the knights to pounce on the vulnerable archers to the Scottish rear. |
 |
The Earl of Moray engages in a complete stand-off with the Earl of Pembroke,
with neither command contributing much to the battle... |
 |
| ...leaving Gloucester and his knights to run rampant in the Scottish rear |
 |
| The Men of Shropshire see off Edward Bruce and his spearmen |
 |
The Highlanders and de Monthermer's knights beat seven bells out of each other,
while the rest of the Scottish line gradually falls apart. |
 |
| The Highlanders finally succumb to the knightly efforts of de Monthermer's retinue, just as Robert the Bruce succeeds in forcing his way through the English line. Too little too late for the Scots though |
 |
Meanwhile, Pembroke and Moray's command continue to stare at each other
across the marsh, until Hereford's knights come across to stir things up |
It was at this point, with two out of three Scottish brigades utterly trounced and the third completely outnumbered and surrounded, that the English declared victory and the remaining Scots fled with their tails firmly between their legs. It had taken us just a little less than three hours to play to this point, despite regularly stopping to chat to the many people (relatively speaking, given the general dearth of attendees) who expressed an interest in what we were doing and were really impressed with how we were doing it, and so we decided to have a quick break to browse the show and then reset, this time switching commands so that Gary was in charge of the Scots and Paul ended up with Gloucester's command.
 |
The Scots deploy again, and already the game is shaming up to be
a very different affair - a solid wall of spearmen presents itself! |
 |
| A close up of the Men of Shropshire regiment, with Henry de Bohun in the background. |
 |
| The Scots advance in unison, still presenting a solid wall of spears on all fronts. |
 |
The English repeat their speedy early advance of the first game,
with Pembroke's command determined to make it across the marsh this time! |
 |
| Once again the battle lines approach, but in the distance events have unfolded much quicker than before... |
Unfortunately, up until this point, I have no pictures to detail what had occurred with Paul's command attempting to cross the ford. Whereas in the first game Gloucester's knights had been the ones to break through the Scottish line, the second game saw it all go wrong for Paul again. Preferring to continue advancing in the face of the enemy rather than deploy and take the inevitable charge, Paul's infantry was caught in column soon after crossing the ford and was hurled back against the banks of the river in short order. This left one unit of knights stuck in column in the ford itself and the other stuck in column impotently on the other side of the river. Driven on by their uncontrollable nature (represented by the "Frenzied Charge" rule), the knights were forced onto the Scottish spears and quickly destroyed.
 |
| The situation on the Scottish right quickly reaches it's conclusion; in a desperate attempt to break out, Paul throws his last knights and Welsh Javelinmen against Lennox's spearmen blocking the ford. Inevitably, they're thrown back and destroyed in short order. |
 |
Leaving Hereford to face the bulk of the Scottish army, whilst Pembroke
struggles across the marsh in the face of Moray's forces. |
 |
| Slowly but surely Pembroke makes his way across the marsh and confronts the Scots. |
 |
| Edward II leads from the rear! |
 |
The Royal Spearmen, backed by the Earl himself, force their way slowly
through the Scots spears, but lose their archers to Moray's knights in return. |
It was at this point that we called the game. Pembroke's command was struggling across the marsh, making headway but not quickly enough to assist Hereford. With two untouched divisions of Scottish infantry bearing down on him, the Earl of Hereford was in a pickle and no mistake. While we hadn't played the game to it's conclusion, the utter failure of Gloucester's command had left the other English brigades in an untenable position, and so we awarded victory to the Scots.
All told, two very quick, bloody and decisive games played, innumerable positive comments and a lot of interest from passersby. We were a bit disappointed not to come away with the award for Best Display Game, especially given the other games on offer (which we were not at all impressed with, by and large). It might seem arrogant to go around "knowing" your game is the best on show, but in this case I truly believe that it was. Wargamer uses a vote to decide the best game, with each group of gamers given a vote. The downside of this system is that it requires people from each display game to actually go around and *look* at the other games on offer, which very few people did. I know for certain that the people who actually came and looked at our game also voted for it, because they all said as much! A vote may be the "fairest" way of deciding the best game at a show, but it also requires the gamers to be active participants in the voting which sadly isn't the case, as many of the gamers at Wargamer are not interested in looking around the show itself...
Anyway, now I've got that bugbear out of the way, I'll get back to the good stuff. I didn't take many pennies with me to the show, on account of the fact that Christmas is coming and I'm also trying to curb my spending when it comes to figures, but I did take the opportunity to pick up some Early Imperial Romans from Colonel Bill's - enough for a unit each of Auxiliary Archers and Auxiliary Cavalry. These will go along nicely with the plastic Roman legionaries I have from Warlord Games (which have been sitting in a box
since last year) and a bunch of Foundry Roman Legionaries that I got cheap from Stafford Games a couple of weeks ago. These will form the basis for the first big project of 2014, which I'll go into in a future post!