Last Thursday night saw my Wood Elves take on the new Lizardmen book, which was released just last weekend. Having taken on the "old" book just a couple of weeks earlier (which you can read about
here) I was interested to see what had changed, and how it impacted my chances of winning!
I took the same list I'm planning on for the Throne of Skulls. Paul's list looked something like this:
Slann
Scar Veteran on Carnosaur
24 Saurus
10 Cold One Cavalry
Stegadon
3x10 Skink Skirmishers
2x10 Chameleon Skinks
For spells I had Wyssan's Wildform, Flock of Doom, Amber Spear and Curse of Anraheir. Paul chose to try out the 'new' Lizardmen lore (which is essentially the exact same as High Magic lore, with a different attribute).
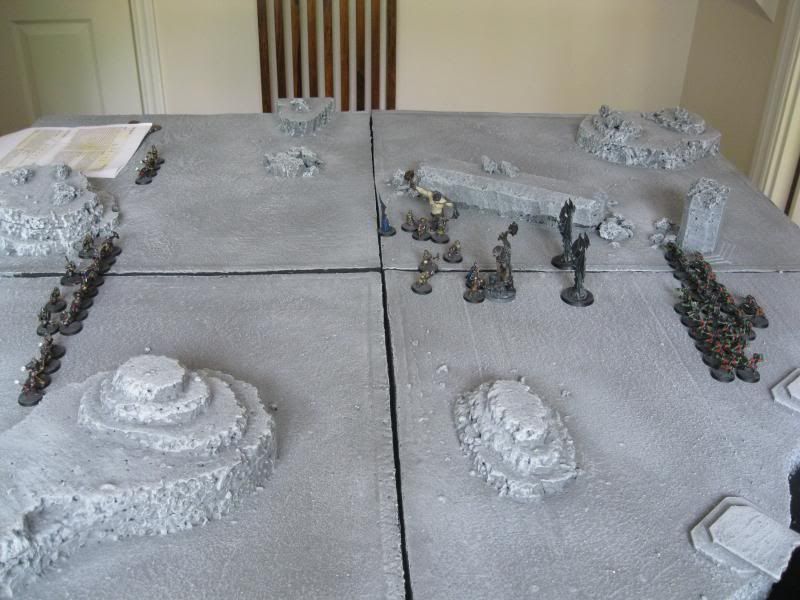
For deployment, Paul spread his army across the width of the board with Skinks on each flank and a solid centre. I elected for a refused flank deployment, hoping to quickly sweep one flank clear of Skinks and avoid the nastier bits of Paul's list for the first few turns.
 |
| Liz Deployment - from L to R: Chameleons, Skinks, Cold Ones, Stegadon, Carnosaur, Saurus, Skinks, Skinks, Chameleons |
 |
| WE Deployment - from L to R: Scouts, LH Glade Guard, Dryads, Eagle, Weaver, Eternal Guard, Treekin, big Glade Guard, RH Glade Guard, Eagle (with more Dryads way out left, out of shot) |
Paul ended up winning the roll off for first turn, and elected to take it
Liz T1
Realising how out of position his units were, Paul began to move his central units between all the woods to try and get into the action. Meanwhile, the Skinks all advanced into position to hold up the bulk of my forces.
 |
| The Skinks advance to make a nuisance in front of the Wood Elves |
 |
| The rest of the Lizardmen army race to reposition themselves |
Magic started pretty slowly, with only 4 Power Dice generated. Hand of Glory was attempted and dispelled, followed by Drain Magic, which was subsequently swapped for Fireball courtesy of the Lizardmen's lore attribute.
First turn shooting was limited due to range, but the right-hand Chameleon Skinks managed to shoot the first Eagle out of the sky. The nearby Glade Guard nearly scarpered, but managed to hold thanks to the BSB reroll.
WE T1
Moving with as much swiftness as they could muster, the Wood Elves began their advance. The bulk of the army moved right up into the faces of the Skinks ahead of them, while the few units in the central area moved to fend off the bulk of the approaching Lizardmen army. The far-flung Dryad unit moved at full speed to block off the Cold Ones.
 |
The Glade Guard draw a bead on the Chameleon Skinks,
while the EG and Treekin get in the faces of the Skink units |
 |
The Scouts take up position on the edge of the wood,
opposite the roadblock Dryads in the opposite wood. |
Magic again achieved very little, with Flock of Doom failing to damage the Chameleon Skinks and Wyssan's being dispelled. Moving quickly on, shooting proved much more effective with the two units of Glade Guard on the right blowing away the Chameleon Skinks in their entirety. The left-hand Glade Guard and Scout tried to shoot the Cold Ones, to no effect.
 |
| First you see them, now you don't! |
Liz T2
The Lizardmen turn began with a charge from the Carnosaur into the Scouts. They should have easily been able to outrun the charging dinosaur, but the dice conspired against me as I rolled snake eyes and the Scouts were run down. Attempting to follow the Carnosaur's example, the Stegadon attempted to charge the lone Dryad unit in the left-hand wood, but the dice this time turned against Paul, as he rolled a 3 for the charge distance and the Stegadon trundled forwards to stop right in front of the Cold Ones instead.
Elsewhere, the Skinks on the right advanced into the face of first the Glade Guard and then the Eagle. The Saurus continued their slow march towards the Wood Elf army, ditching the Slann on the way, while the Cold Ones had their hands (claws?) forced by the positioning of the Stegadon and simply reformed to face the nearby Dryads, while the two units of Skinks closed in around the Forest Spirits.
 |
The Skinks march into the face of the arrow storm, trying to take
a few Glade Guard with them before they go down... |
 |
The left-hand Dryads quickly find themselves surrounded,
while the Carnosaur munches on the corpses of the Scouts |
Magic was slowly increasing in potency as Paul rolled 9 Power Dice. First, he cast a big Fireball at the left-hand Dryads, which I elected to Scroll. Soul Quench was the next spell attempted, and was quickly dispelled. The final attempt was Fiery Convocation, which failed to cast and subsequently ended the Magic phase.
Shooting saw the Eagle survived the hail of blowpipe darts with a single wound remaining, while the other Skink unit missed the Glade Guard completely. On the other flank, the combined fire of two units managed to kill just a single Dryad.
WE T2
The second Wood Elf turn began with a flurry of charges. The right-hand Dryads (perhaps foolishly) charged into the flank of the Carnosaur, the remaining Eagle (also foolishly) ploughed into the Skinks in front of it, while the two Glade Guard units decided that shooting wasn't good enough for the Skinks and decided to chase them off instead, although the Skinks unfortunately managed a massive flee move that saw them escape the rampaging elves. The Eternal Guard and Treekin continued their advance over the hill, while on the other flank the lone Dryads continued moving forwards as much as possible in order to force the Cold Ones into charging.
 |
| The Glade Guard chase off the Skinks |
 |
| The lone Dryads ensure that the Cold Ones can't march past them |
Magic saw a modest 6 Power Dice allow me to cast Wyssan's Wildform on the Dryads fighting the Carnosaur, although Curse of Anraheir on the Carnosaur was comfortably dispelled. With two out of three of my missile units charging I only had 10 shots to fire at the Chameleon Skinks, all of which missed anyway.
In combat, the Skinks easily managed to take the last wound off the Eagle for two losses in return. The more important combat was the Dryads vs. Carnosaur, with the Dryads managing a single wound on the Scar Veteran for three losses of their own thanks to the Scar Veteran having the Sword of Swift Slaying (thereby nullifying the Dryads' Initiative 6
and their 5+ Ward Save). Thanks to being Stubborn in a wood, the Dryads held.
Liz T3
As predicted, the turn began with the Cold Ones charging the Dryads (they really had no choice...). Elsewhere, everything that wasn't in combat desperately tried to get close to the bulk of the Wood Elf army and the fleeing Skink unit managed to rally (on Ld 5!) Crucially, I had overlooked the fact that my Spellweaver would be left exposed to Skinks and Paul capitalised on this to bring them within short range in an attempt to kill my magical abilities.
Magic was again slow, with only 3 Power Dice generated, but it was enough to cast Hand of Glory on the Carnosaur, adding 2 to their Movement, Weapon Skill and Initiative. Shooting, meanwhile, had the potential to be devastating if Paul could kill my Weaver, but luckily he fluffed his rolls and she went unscathed. Elsewhere though, the advancing Chameleon Skinks managed to kill off four of the left-hand Glade Guard, who subsequently failed their Panic test and fled back through the woods.
 |
| One unit of Skinks rallies, while the other advances menacingly on the Spellweaver |
 |
| The Chameleons prepare to pepper the Glade Guard, while the Stegadon looks on menacingly |
In combat, the dice abandoned me as both units of Dryads were wiped out in short order. The Cold Ones overran, although not far enough to escape the wood, while the Carnosaur reformed to face towards the Eternal Guard and Treekin.
 |
| End of Liz T3 - notice the distinct lack of Dryads... |
WE T3
With the Lizardmen beginning to plough through my units, it was time to force the issue a little and start making my own mark on the game. The Eternal Guard and Treekin did just that, with the Guard advancing into the face of the Saurus (and forcing them to remain in the woods to deny them Steadfast in combat) while the Treekin advanced into position to enact the subsequent flank attack. Elsewhere, the right-hand Glade Guard remained focused on the right-hand Skinks while the big Glade Guard swift reformed to face the Skinks threatening the Spellweaver, who moved herself out of the way of the advancing Carnosaur. The fleeing Glade Guard failed a second Ld 9 test as they failed to rally and carried on fleeing until they were nearly through the woods where they started!
Magic needed to be good for me, and I got a healthy 9 Power Dice. Flock of Doom took out 5 of the Skinks immediately closest to the Weaver, with Amber Spear skewering another two by piercing along the line.
Shooting saw the right-hand Glade Guard reduce their Skinks to 5, although the suicidal lizards managed to pass another Ld 5 test and stay put, much to my annoyance. The big Glade Guard unit drew a bead on the Carnosaur and managed to score a wound on the beast.
 |
| End of WE T3 - right |
 |
| End of WE T3 - left |
Liz T4
The Lizards continued their advance, with the Saurus finally managing to reach combat by charging the Eternal Guard, despite the wood. The Carnosaur advanced to threaten the EG's flank (although I wasn't too worried, as I'd have two rounds of combat before it could intervene), the remaining Skinks advanced along with the Stegadon while the Cold Ones trailed behind.
 |
| Partway through the T4 moves... |
 |
| The Cold Ones trailing behind... |
The Slann finally managed to pull out a decent Winds of Magic roll, with 11 Power dice generated (just when I didn't need them). Soul Quench was cast on the Treekin and allowed through, for two wounds suffered. The follow-up Fireball was quickly dispelled, and Paul's attempt at Spirit Leech against the Treekin rolled Irresistible Force but failed to do any damage to either the Treekin or the Slann, and thankfully ended the Magic phase.
Shooting saw the lone Skink succeed where the whole unit had failed, causing a wound on the Weaver. The super-Skinks on the right managed to kill 3 of the Glade Guard, although the Panic test was passed.
Combat saw the Eternal Guard kill one Saurus while losing two of their own in return. The combat ended up as a draw, and the Saurus reformed to nine files wide in order to deny the Treekin their flank charge.
 |
| End of Liz T4 |
WE T4
This was to be the crucial turn for the Wood Elves, where everything came together for once! The Treekin began the turn by charging the already-engaged Saurus. The fleeing Glade Guard finally managed to rally, while the Spellweaver moved closer to the safety of the big Glade Guard unit.
Magic only generated 5 Power dice, but it was enough for me to throw them all into a boosted Amber Spear at the Carnosaur. Paul failed to dispel, the Spear wounded and rolled a '6' for the number of wounds. The Carnosaur crumpled to the ground in a heap, leaving the Scar Veteran to walk.
He wasn't on his feet for long though, as the big Glade Guard unleashed their fury at the Saurus Hero, managing to score a single unsaved wound that was enough to kill him. I breathed a sigh of relief! Close by, the right-hand Glade Guard killed another two Skinks, but they again managed to pass their Ld 5 Panic test and stick around
again!
 |
| The action centres around the big combat in the middle... |
The crucial combat saw the BSB kill one Saurus, the EG kill another three and the Treekin causing another five casualties. In return the Eternal Guard suffered five casualties and the Treekin took a single wound. The combined combat resolution meant that the Saurus needed snake eyes to hang around, which they subsequently failed. The Treekin pursued and failed to catch them, but the Eternal Guard refused to reform towards the Stegadon and instead ran the Saurus down, leaving both the Guard and the Kin less than 6" away from the Slann.
~ ~ ~
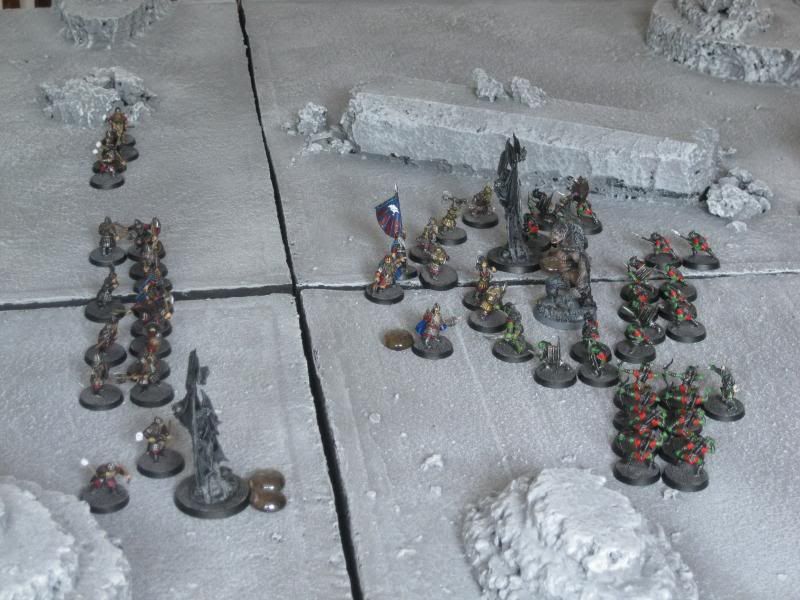
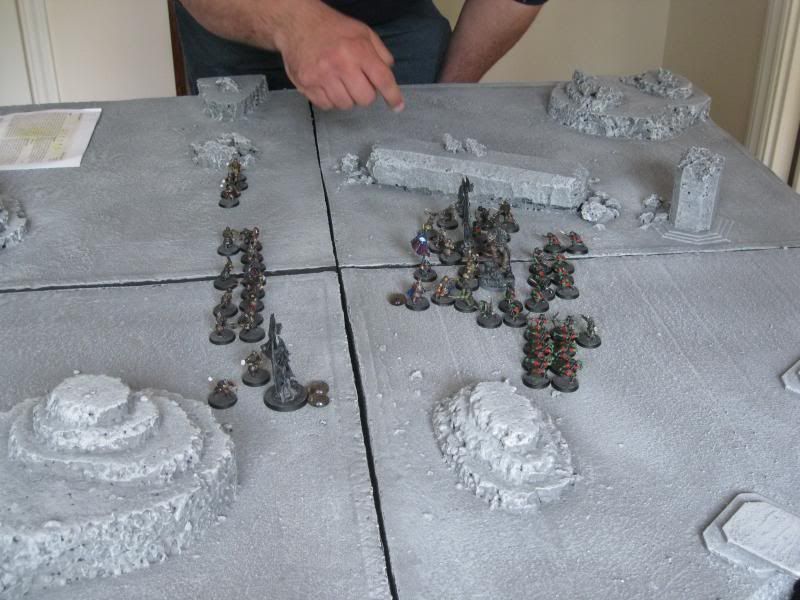
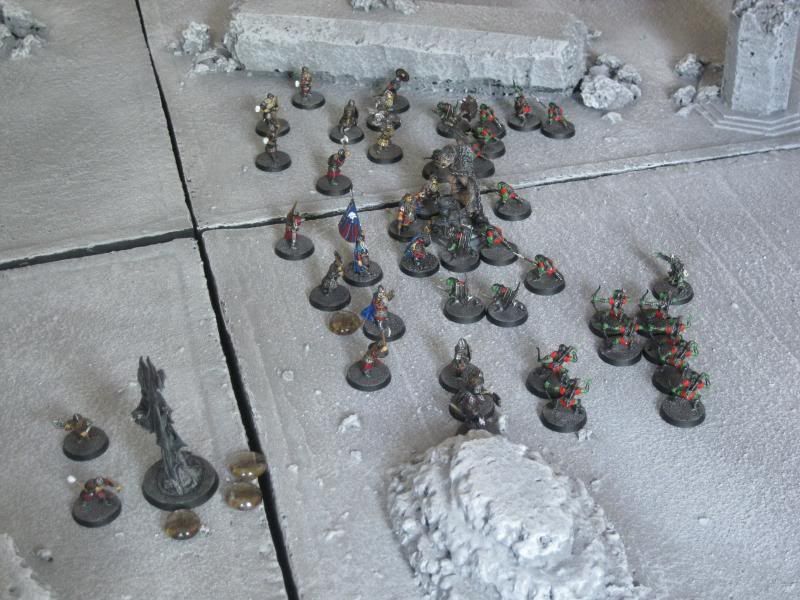
At this point, we debating whether to play another turn or not but decided to call the game as it was getting pretty late, which left the game in the balance (although I was ahead on VPs by a few hundred). Here's an overall view of the battle at the end of T4:
The Slann has got a problem in the shape of two relatively unscathed units within 6", and no easy way to escape them without straight-out running away. The Skinks and Stegadon could still do some damage to my unarmoured archers; it's a question of who can do more damage (before the Steg hits anyway). I probably have one chance to Amber Spear the Stegadon before it charges into the Glade Guard, but if the Steg died then the Glade Guard should have been able to win the battle with the Skinks. It would have been interesting to see how the game would have played out (especially as I think I could have cemented the win) but alas, we shall never know. We'll have to start playing quicker...
When we ended, I'd lost my Scouts, Eagles and Dryads - 377pts in all. Paul had lost a unit of Chameleon Skinks (120pts, I think), his Scar Veteran on Carnosaur (roughly 330pts) and his Saurus (294pts) which adds up to 745pts - a narrow victory for me, although the totals could easily have swung either way in the final two turns.
So what did I think of the new Lizardmen book? Well, it's difficult to appreciate all the changes without actually reading through the book, but for the most part the Lizardmen don't appear to have changed all that much. The Predatory Fighter rule (allowing Saurus to roll an extra attack for each '6' they roll To Hit) isn't game changing, but makes an already good unit just that bit better. The Slann has taken a bit of a hit in regards to its disciplines, but they are still the best casters in the game. The change to allow Scar Veterans to ride Carnosaurs (rather than just limiting them to Oldbloods) might mean that Carnosaurs are taken slightly more often, but with the plethora of monster-hunting spells, weapons and units available these days (well, available to everyone except Wood Elves anyway...) means they will still be vulnerable to a cannon to the face, for example.
One final word for today - you might notice in the pictures that my army is now almost exclusively white. I've been working on repainting the army over the last week, with bases cleaned off and rebased, movement trays made, metal models stripped and cleaned, and everything resprayed white in preparation for the real painting to begin this week. I'll post more about the repainting process soon!