If you've read the blog of late, you'll no doubt have noticed that my focus recently has been almost exclusively Lord of the Rings, and Moria in particular. The aim was to produce a set of terrain (and the necessary figures) to allow me to run a mini-campaign telling the tale of Balin's attempted reclamation of Khazad-dûm.
Well, a couple of weekends ago, I reached a stage where the games could begin so I got Paul and Gary together to get the campaign started! We started bright and early (drinks and bacon butties were provided) and Gary and Paul rolled off to decide who would take command of which side. Gary won the roll off and plumped for the Dwarves, leaving Paul to take command of the Moria Goblins.
Scenario 1 - Assault on the Eastgate
The first scenario involves the Dwarf vanguard attempting to gain a beachhead in the caverns of Moria, to open the way for the main force under Balin's command.
The game was played on a 2'x4' board (using two of the modular boards I've built), with one of the long edges forming the Walls of Moria with the Eastgate itself located in the very centre of the long edge.
Forces
Good
Dwarf Captain with shield
6 Dwarf Warriors with shields
6 Dwarf Warriors with bows
3 Dwarf Warriors with two-handed weapons
Evil
8 Moria Goblins with shields
8 Moria Goblins with spears
8 Moria Goblins with bows
2 Bat Swarms
Deployment
First, the Dwarves had to split their forces into two equal-sized groups (8 Dwarves in each). One group was then deployed in the north-eastern corner of the board, up to 12" in and 6" deep, as shown on the map below. The second group then deployed in a similar position in the south-eastern corner of the board. Once the Dwarves were deployed, the entire Goblin force deployed within 6" of the Eastgate. Gary split his Dwarves so that the Captain and seven of the non-bow armed Dwarves deployed on the north corner, while the Dwarves with bows and the remainder of the non-bow armed Dwarves deployed to take advantage of the heights in the south corner. Paul established a perimeter with his Goblins; shields at the front, supported by spears, bows in the space behind with the Bat Swarms ready to fly over everyone.
Special Rules
Unstable Footing
Any Jump or Climb tests taken by any model (except Moria Goblins) suffers an additional -1 dice modifier
Forces
Good
Dwarf Captain with shield
6 Dwarf Warriors with shields
6 Dwarf Warriors with bows
3 Dwarf Warriors with two-handed weapons
Evil
8 Moria Goblins with shields
8 Moria Goblins with spears
8 Moria Goblins with bows
2 Bat Swarms
Deployment
First, the Dwarves had to split their forces into two equal-sized groups (8 Dwarves in each). One group was then deployed in the north-eastern corner of the board, up to 12" in and 6" deep, as shown on the map below. The second group then deployed in a similar position in the south-eastern corner of the board. Once the Dwarves were deployed, the entire Goblin force deployed within 6" of the Eastgate. Gary split his Dwarves so that the Captain and seven of the non-bow armed Dwarves deployed on the north corner, while the Dwarves with bows and the remainder of the non-bow armed Dwarves deployed to take advantage of the heights in the south corner. Paul established a perimeter with his Goblins; shields at the front, supported by spears, bows in the space behind with the Bat Swarms ready to fly over everyone.
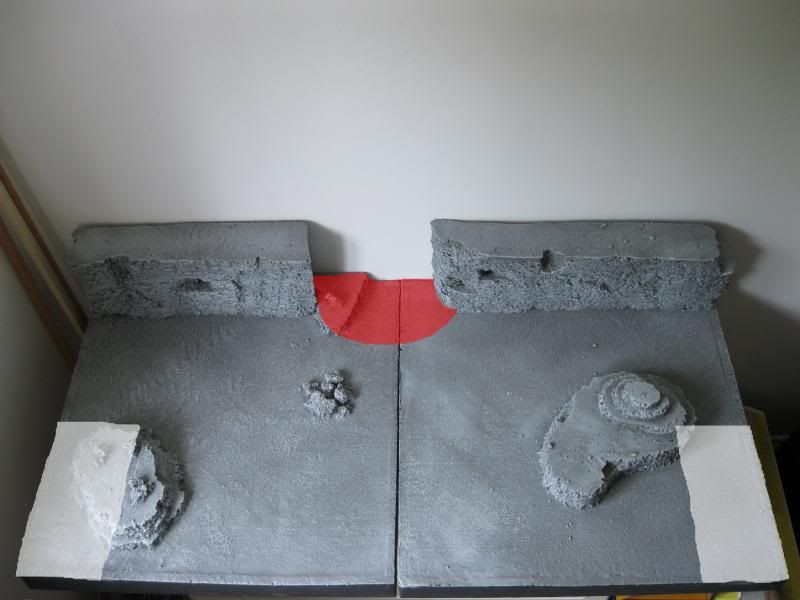 |
| The white boxes show the Dwarf deployment zones; the red semi-circle is the Goblin deployment area |
Special Rules
Unstable Footing
Any Jump or Climb tests taken by any model (except Moria Goblins) suffers an additional -1 dice modifier
~ ~ ~
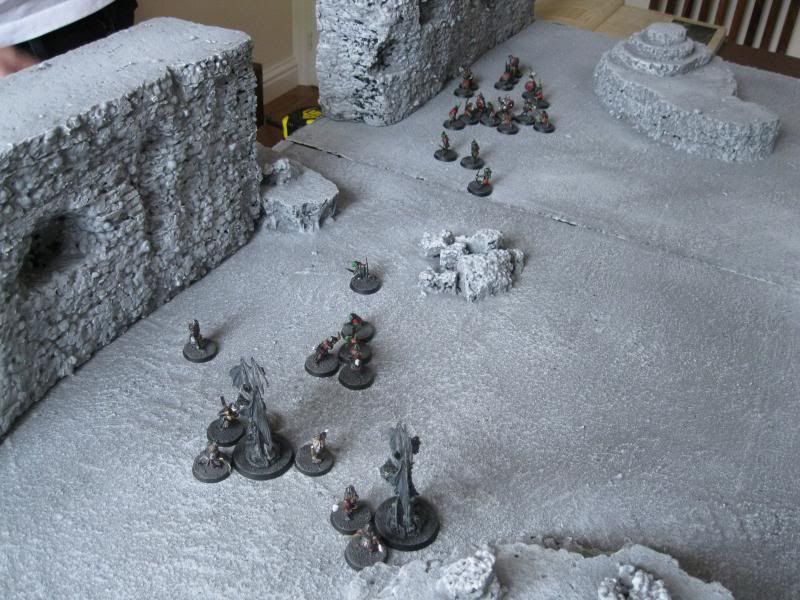
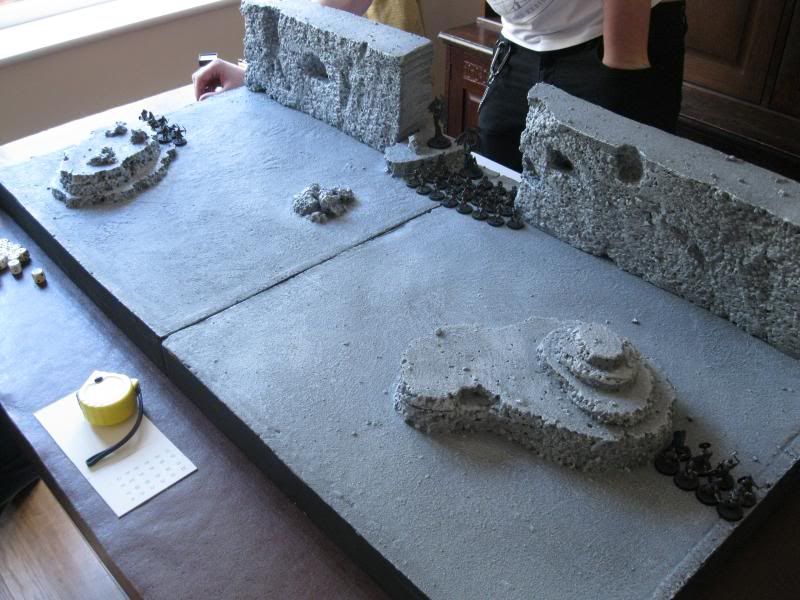 |
| Deployment - it looks like a tough task for the Dwarves to break through the Goblin cordon. |
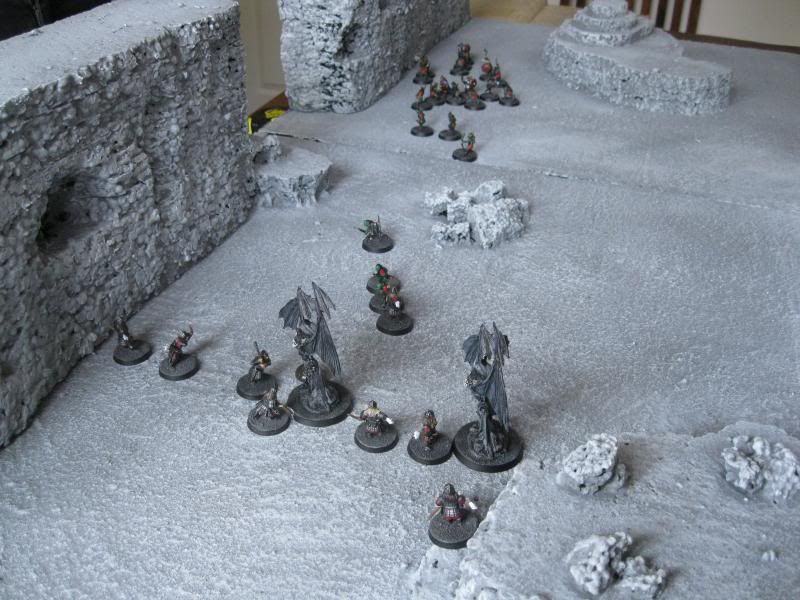
As per normal, the game started with the Good side getting priority. Gary's Dwarves mostly advanced as far as they could, with the bow-armed Dwarves taking up position along the edge of the plateau in order to launch shots against the Goblins. Paul split his forces, with the majority of his models heading north to take on the Dwarf Captain while the remainder went south accompanied by the Bat Swarms.
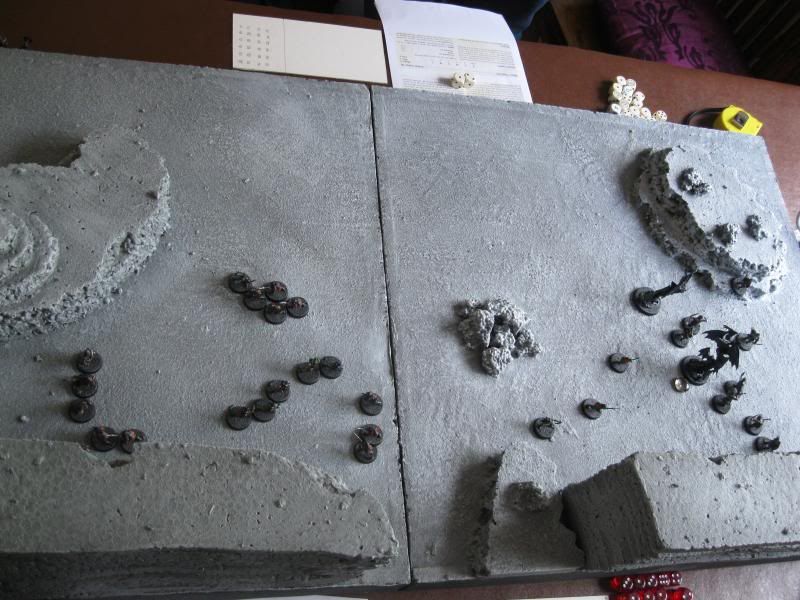 |
| An odd angle to demonstrate the disposition of both sides. |
The fighting was quickly joined, with Paul initially gaining the upper hand as his Goblin archers scored several unlikely wounds.
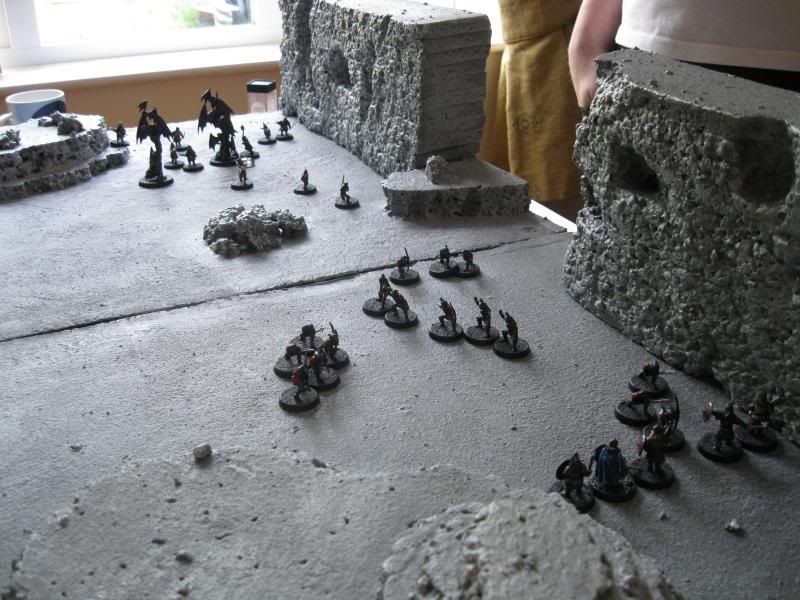 |
| The Dwarves from the north (left) make a stand in the narrow gap between the plateau and the Walls to prevent the Goblins from surrounding them. |
 |
| Meanwhile, the Bat Swarms make a nuisance of themselves but are unable to make much headway without support from any Goblins. |
Eventually though, the Goblin numbers began to dwindle as the Dwarves managed to avoid being ganged up on and arranged several one-on-one fights, which they inevitably won (although it took them some time to slay their enemies - Gary would have made much quicker progress if his dice-rolling was any good!)
 |
| The Goblin numbers dwindle, the Dwarves press their advantage and soon the result is a forgone conclusion |
With the Goblin numbers dwindling each turn, it wasn't long before Paul's force was broken and the inevitable failed Courage tests came along (with only Courage 2 and no Heroes to support the warriors, the Goblins were never going to stick around for long once broken).
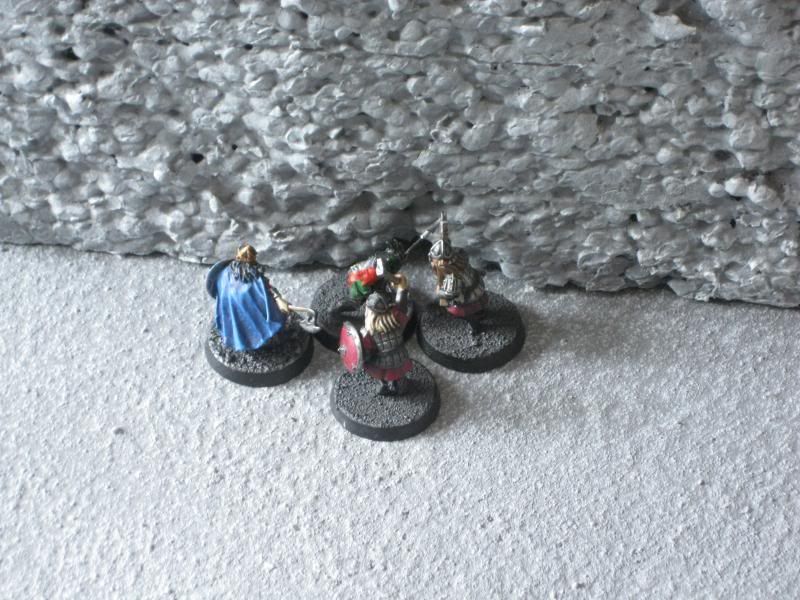 |
| The final combat - the Dwarf Captain and two of his warriors close in on the sole remaining Goblin, easily slaying him and ensuring a wipe-out for Gary! |
So the first scenario turned out to be a solid victory for Gary, and the Dwarves managed to secure their way into Moria. This initial scenario would prove to demonstrate several recurring traits for the games to come - Gary can't roll To Wound dice for toffee, and Paul's Goblin archers are lethal!
More to come soon!
No comments:
Post a Comment