Sunday, 16 June 2013

There Will Be Blood

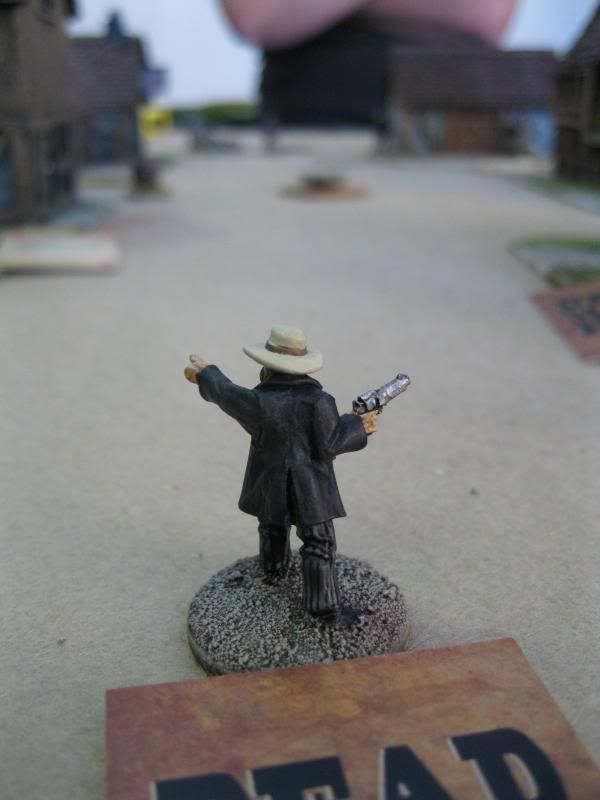
Here's a few photos from mine and Gary's game of Dead Man's Hand from a couple of weeks ago. I was going to write some sort of battle report but I've left it too long and the details are now too hazy for me to remember much about what happened. They say a picture says a thousand words though, so I've got roughly the equivalent of a dissertation here! 

The Dead Man's Hand rulebook includes several sets of three linked scenario mini-campaigns, each building up to the third and final climatic shootout. Typically, it wasn't until myself and Gary started this third scenario that I remembered I'd taken my camera along, and started taking photos. Maybe I should take that as a sign - the first two scenarios, where I wasn't taking photos, I won; this one, with plenty of photos, I was well and truly beaten!


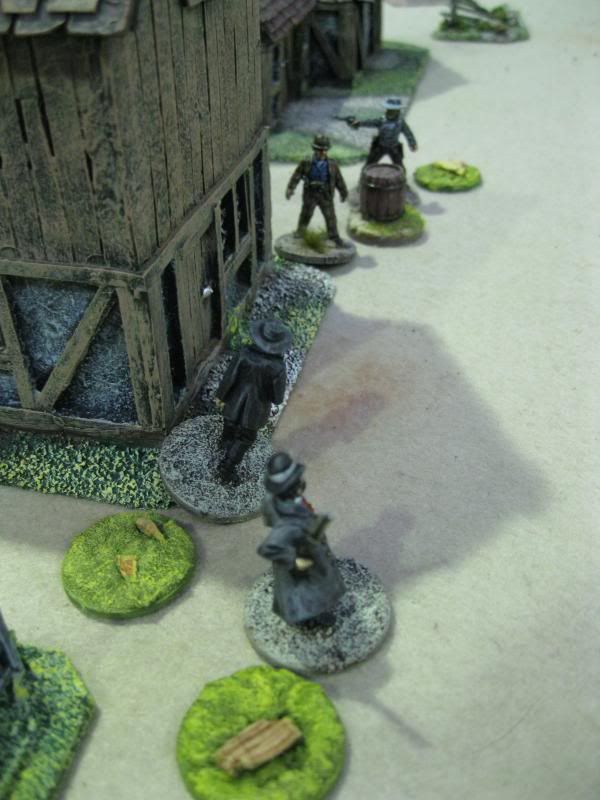
The Marshall points the boys in the right direction

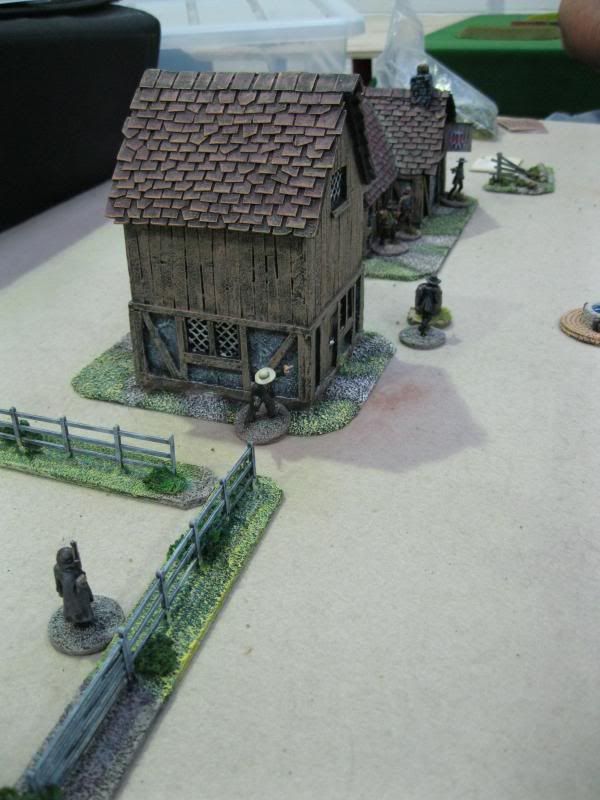
The opposing gangs at either end of the street; note the element of time travel, where the contents of a
17th Century European village have been mystically transported to Arizona

Gary's gang of Outlaws take up position opposing the Lawmen

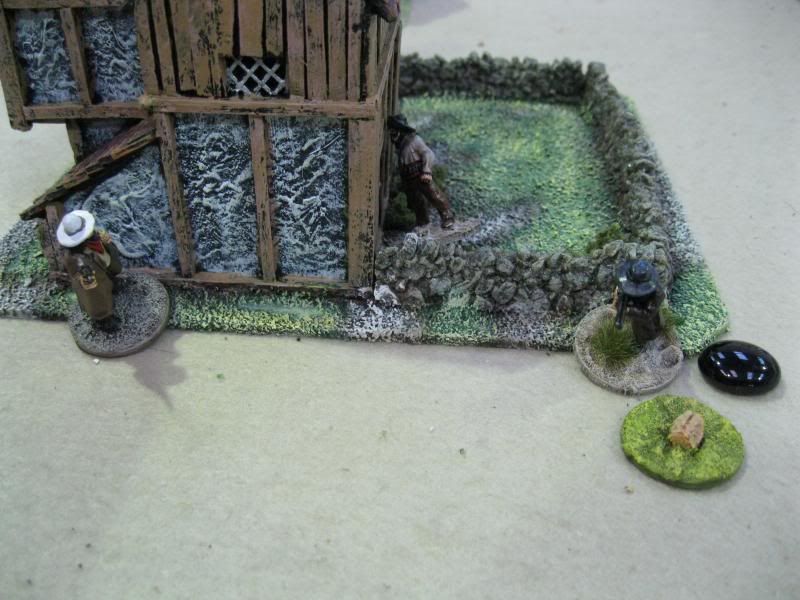
Peeking round the corner of the building!

The Sheriff gets outflanked


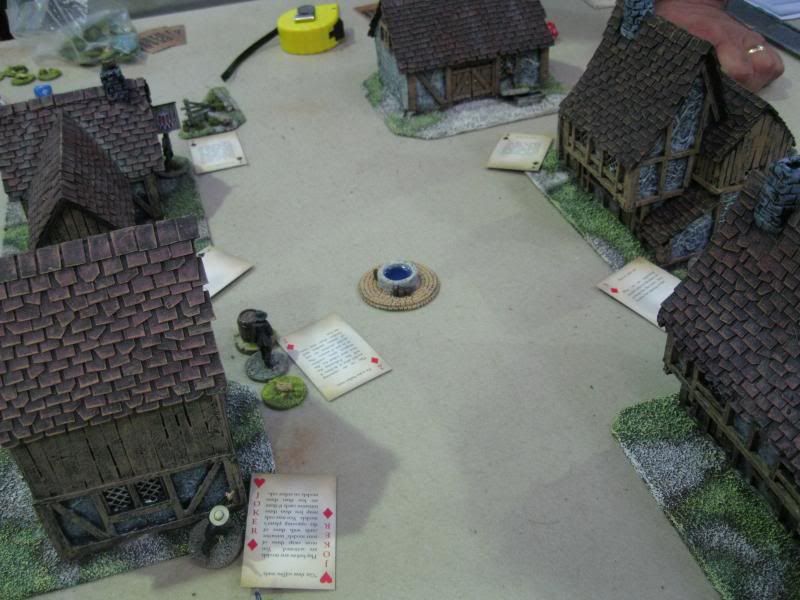
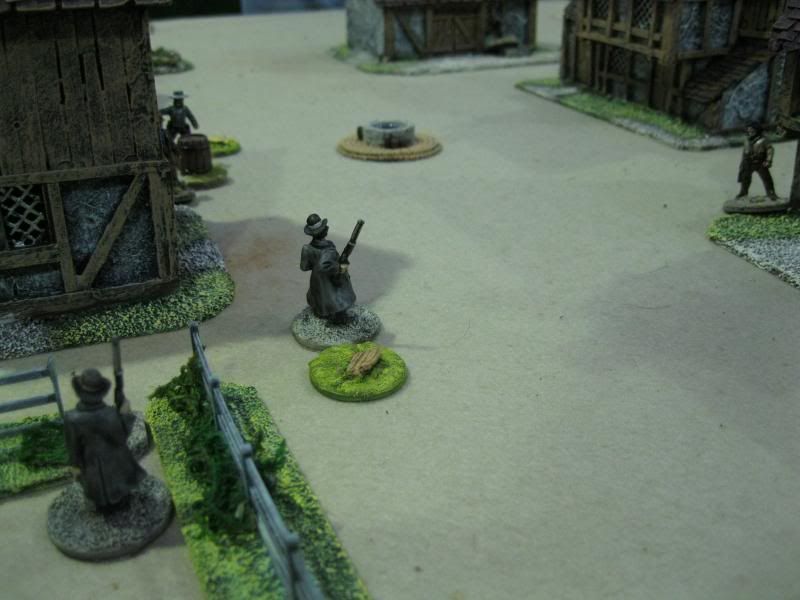
The deserted centre of town - because everyone's ducking for cover!

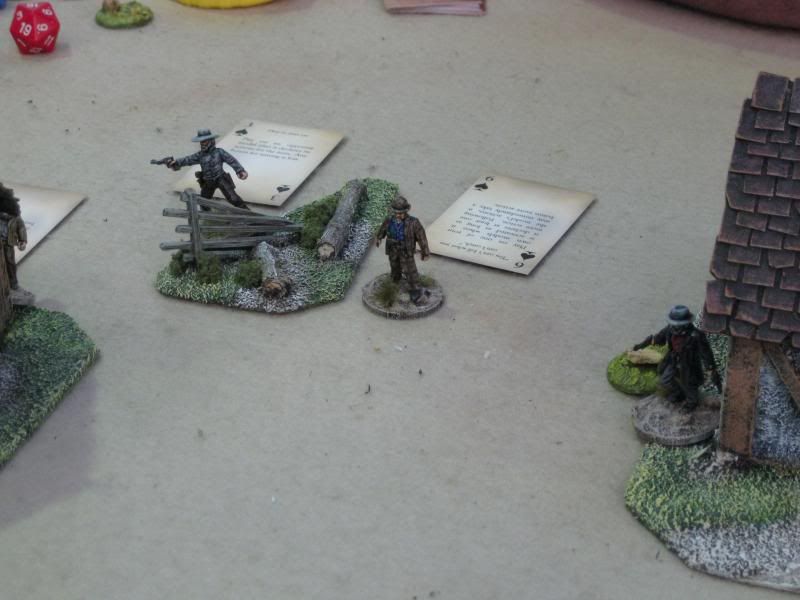
The Lawmen boldly (foolishly) take the fight to the Outlaws

Gary's outlaws get the drop on the deputy

Outflanked and outgunned, and with a '2' for his Initiative, this deputy isn't long for the world...


In the end, I suffered an embarrassing defeat in the final scenario, with all but two of my Lawmen falling foul of the Outlaws (Gary managed to score three outright kills in this game!) Losing aside though, it was great fun once again - fast paced and furious, with bullets flying left, right and centre. What's not to like?! As Paul has yet to play a game with his own gang, I expect we'll be playing several more games of Dead Man's Hand over the next few weeks. Maybe I'll remember to take photos of them!

Monday, 10 June 2013

A Trip to the Old West

I mentioned in my Partizan post that we've been playing Dead Man's Hand recently, and that I had wanted to pick up a gang of my own at the show last week. There are four "official" gangs available from Great Escape Games specifically for Dead Man's Hand, but Gary had already bought (and painted) all four sets by the time Partizan rolled around. While they are very nice and characterful figures, I didn't want a duplicate set as my own gang, so I had a look at some alternative figures for use in Dead Man's Hand. Artizan Designs do some very nice Old West figure sets, and luckily for me there were several retailers at Partizan who were selling these sets. So, here follows a quick look at those figures I bought, and managed to get painted in time for last Thursday's game of Dead Man's Hand...


The whole gang - DMH uses a "Rep" (or Reputation) value as a points system for the game,
and all the official sets consist of 7 models with an overall worth of 21 Rep
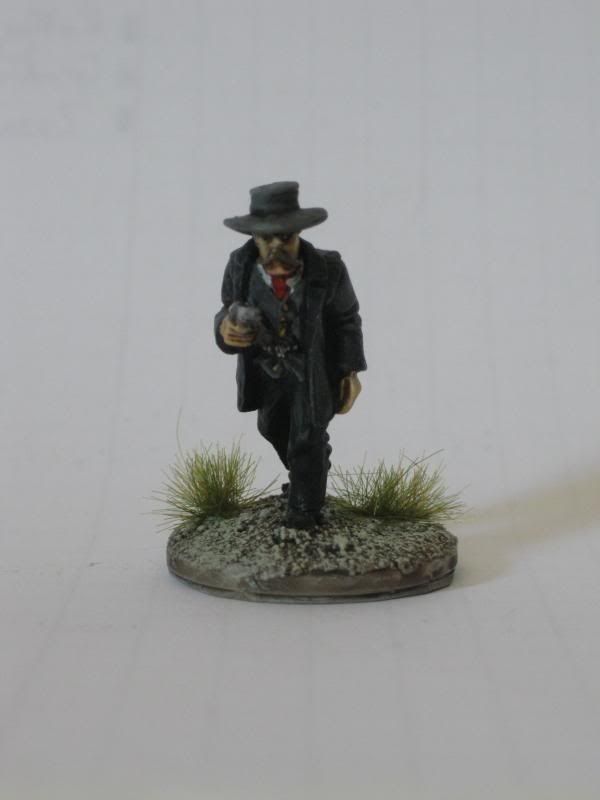
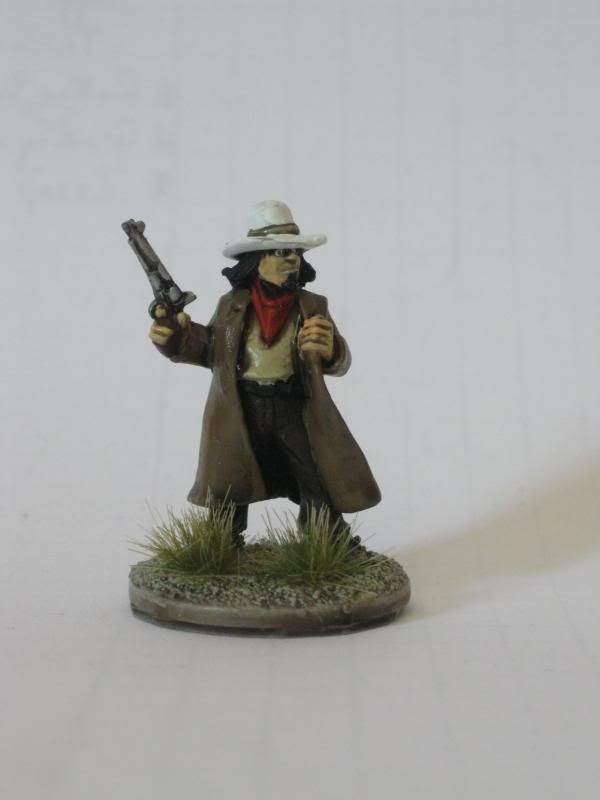
First up, the Sheriff. Officially, the figure is one of the Earp
brothers, but I'll come up with my own names eventually
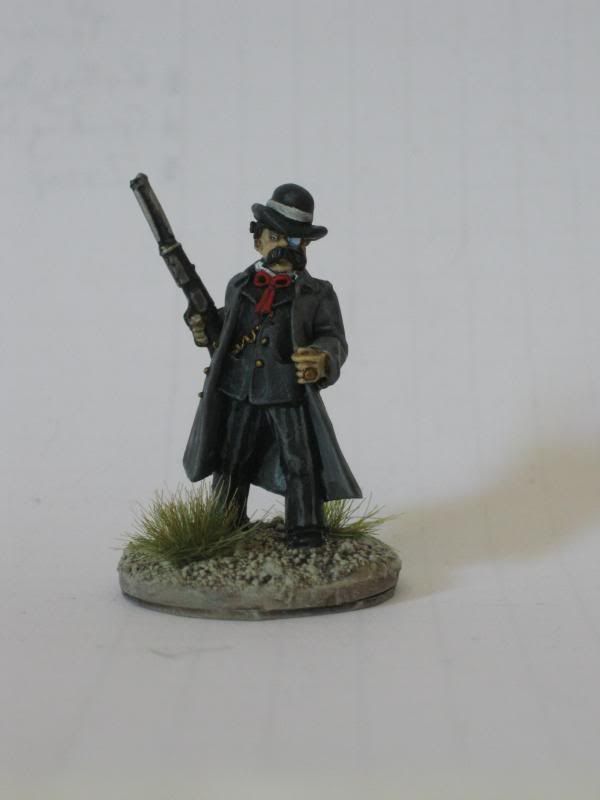
The Deputy Marshall - another Earp model
And the final Earp brother
The first of the Pinkertons, armed with a rifle. 
Another Pinkerton, again with rifle
And the final Pinkerton
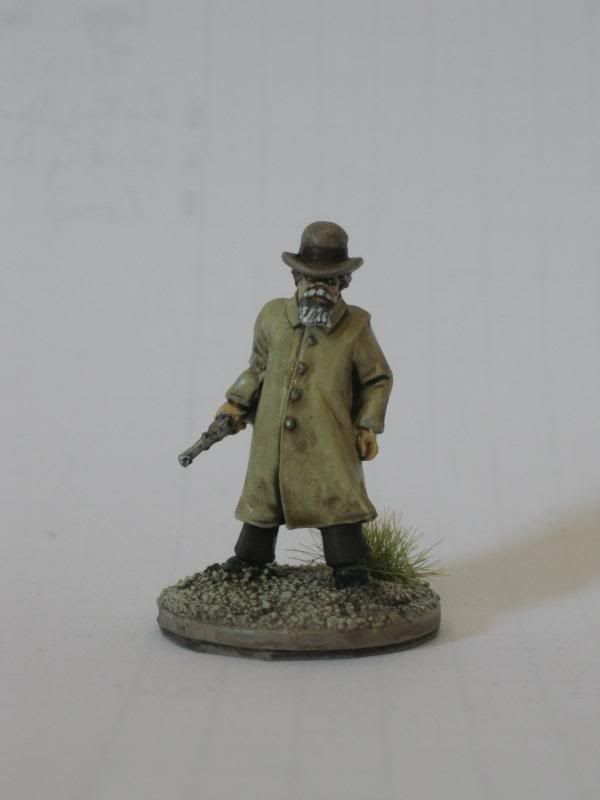
The only non-Artizan figure in the gang, this chap is actually from Foundry. Although
the model is a bit chunkier than the Artizan figures, he doesn't stand out too much

So there you have it - the Lawmen ready to deal out tough justice and hot lead to all those varmints and critters plaguing the Old West. I had originally wanted to focus the gang entirely around the Pinkertons (Artizan make two different sets) but I could only find the one variant pack unfortunately. That meant the Earps stepped in at the last minute to provide the additional lawmen I needed. The Foundry figure isn't really a Lawman (he's technically a cowboy) but he's suitably generic-looking to be included. The only downside of making a gang up this way is the lack of any shotgun-armed figures. Each of the official gangs has one model with shotgun, and they are horribly brutal in game (provided they don't get shot up first) so I'll need to find a suitable model at some point so as not to leave myself at a disadvantage! 

Tuesday, 4 June 2013

A Trip to Partizan!

Sunday 2nd June was the occasion of the 27th Partizan, held at Kelham Hall near Newark. It's a show I'd never been to before (because Newark always seemed so far away) but this year I decided to make the effort and hop on the A38 (and the A617) to get there. I roped Gary in to go along with me, as it had been several years since he'd been to Partizan as well, and even better he offered to drive, which saved me from the Sunday drivers!

So what was it like?

Well, having never been before I can't compare it to past Partizans, but compared to the other shows I regularly attend this one ranks up there as a pretty decent day out. Kelham Hall itself is a lovely looking building, which makes a change from the usual sports hall. There were plenty of traders, several of whom don't normally make the jaunt to our neck of the woods, and lots of games on display (more on those in a minute). The downsides of being at Kelham Hall is the relative lack of space - there are plenty of rooms available, but as those rooms were not designed to accommodate several hundred wargamers (including some fairly sizeable ones...) plus trade stands and display games, it can get more than a little crowded and cramped once all the punters are in (a lot more than usual at wargames shows anyway!). Luckily, myself and Gary were pretty close to the front of the queue so we were afforded a bit of time to browse with freedom of movement. The other downside was that the combination of smaller rooms with more people packed in, big stained glass windows and blazing sunshine outside (for once!) meant that it got pretty warm pretty quickly inside, which is uncomfortable at the best of times but proves even more so when some of our more "fragrant" brethren show up!

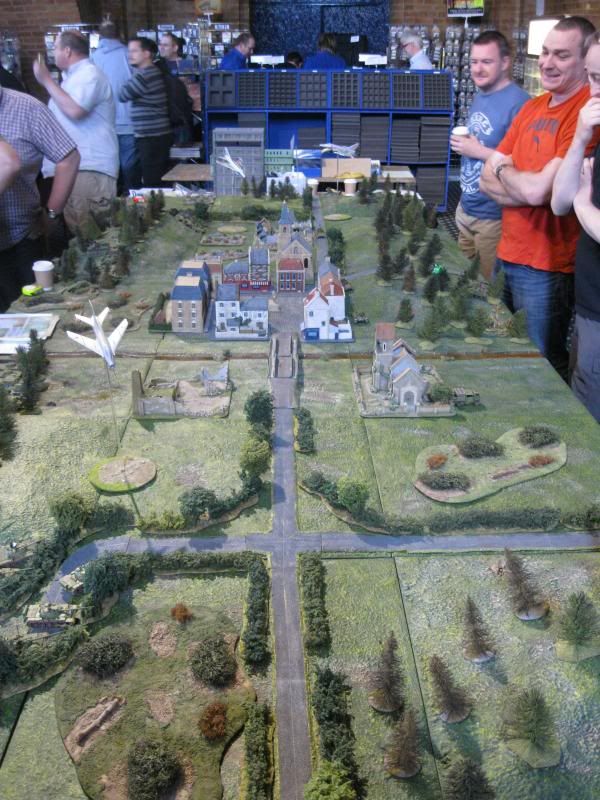
But all that aside, it was an enjoyable day out and (for me at least) worth taking the trip. I grabbed a few photos of some of the more interesting games that caught my eye, but without much room to manoeuvre it wasn't practical to get shots of every game at times.

The Battle of Raphia, hosted by Simon Miller aka "BigRedBat" and friends.
You can see more pics at the BigRedBatCave

Guy Bowers and the WSS team ran this Samurai skirmish participation game.
I was asked to join in, but had to decline
Bramley Barn Wargamers put on a nice looking Cold War game, which I stood and chatted to them about
for a bit. I've no interest in the Cold War, but their terrain was nice and they were a friendly bunch...
...unlike the "Like A Stonewall" club who, as always, ignored everyone (or at least they did while I was there) and seemed to regard the public as an inconvenience interrupting their game (which was The Fetterman Fight of 1866, by the way)
A nice, straightforward Very British Civil War game

I'm not sure what this game was, but it was Lincoln Miniature Warfare Society at any rate!
Possibly my favourite game of the day, this was a Sherlock Holmes game using the "In Her Majesty's Name" rules 

A familiar-looking fine four fendered friend!

Naturally, the day wouldn't have been complete without parting with some hard-earned cash, although unusually I went with a very limited shopping list and actually stuck to it. I picked up a copy of "In Her Majesty's Name" from Caliver Books, a copy of the new Crooked Dice "7th Voyage" rules courtesy of Ainsty Castings plus a couple of 7TV bits I was after, and finally another new game purchase - Dead Man's Hand hit the gaming table last week, and it's turned out to be a cracking game, so I took the opportunity to pick up a few Wild West lawmen of various sorts as my own 'gang' (but more on that some other time). 

As an added bonus for the day, myself and Gary were among the first 500 visitors, so we each received a free figure! This year's offering was Martin Schwarz, leader of the German mercenaries at the Battle of Stoke Fields 1487 (as the battlefield isn't far from Newark!)

~ ~ ~ 

Anyway, in other news, a lot has been going on which has put the blogging on the back burner for a while. I've actually got a build up of stuff I want to post about, but I've been spending what would be my blogging time doing actual hobby stuff (I know, I'm shocked too!) Once I've caught up with everything, I'll eventually get round to making a few posts. 

In the meantime, ciao!
Wednesday, 8 May 2013

Hunting the Goblin King

As I mentioned in the last post, there's one more 'piece' of terrain that I need for my planned Moria campaign. This one has a bit of a difference to the previous pieces though, as it's less of a piece of terrain and more of a whole new game board in it's own right!

The scenario in question revolves around the Dwarfs of Balin's Expedition attempting to hunt down and kill the Goblin King, and is set in the Goblin King's throne room. None of my existing boards would be anywhere close to suitable for use as a throne room, and the WD campaign used a specially built throne room so I decided to do the same.


The basic shape of the throne room is an 'H' shape laid on it's side, with the actual throne as an extension. First, I measured out and cut a template from thick card and then used the card to cut out a layer of roughly 1cm polystyrene. With the polystyrene cut out, it was glued to the card to provide a bit of stability to base.


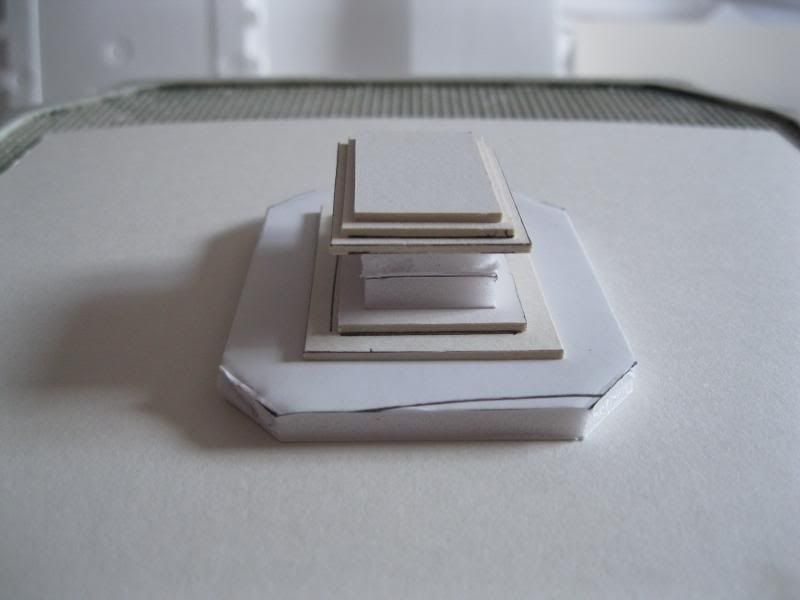
The throne extension consists of several raised platforms with the throne at the very top and back of the board. I built this part separately for ease of transport and storage. It's constructed from three layers. The first, and lowest, just covers the two front corners of the extension and matches the level of the rest of the board. The next layer is the first raised platform, and is made of thick dense polystyrene (which made cutting much easier!). The shape is roughly octagonal, although the first layer has a trapezoid extension at the front. The second layer is simply a big octagon. The cutouts in both levels leave room for three sets of steps in each level. 


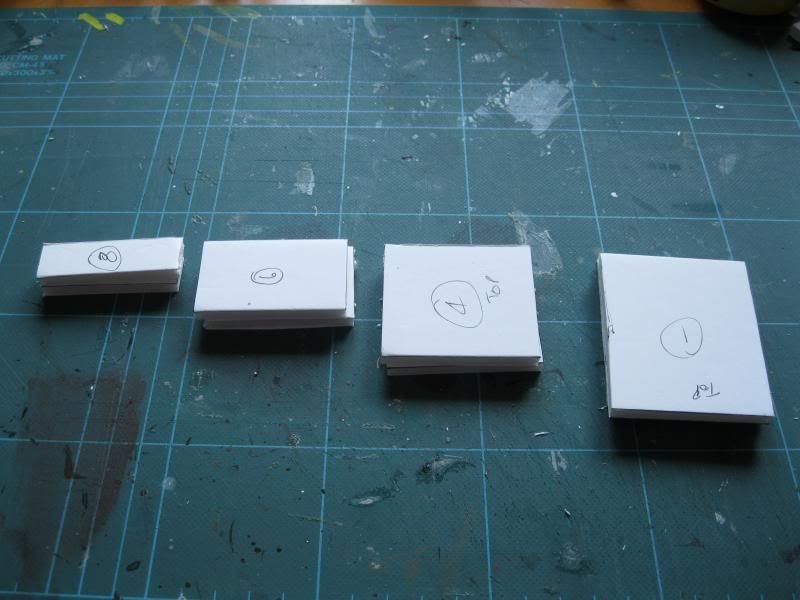
The steps were made from foamboard, with two pieces forming each step. After a few careful calculations, each step has room for a figure to stand on as well! 


Just four more sets of stairs to go! Measuring and cutting all the steps takes quite a while, but it'll be worth it. 

The throne itself was one of the first parts of the throne room that I made


Of course, the throne room board is still a long way from finished. It's designed to quite close and tight to move around, with plenty of pillars and obstacles to make a pretty packed fighting environment. 

I'll be back with more soon!
Tuesday, 7 May 2013

Delving of the Dwarves

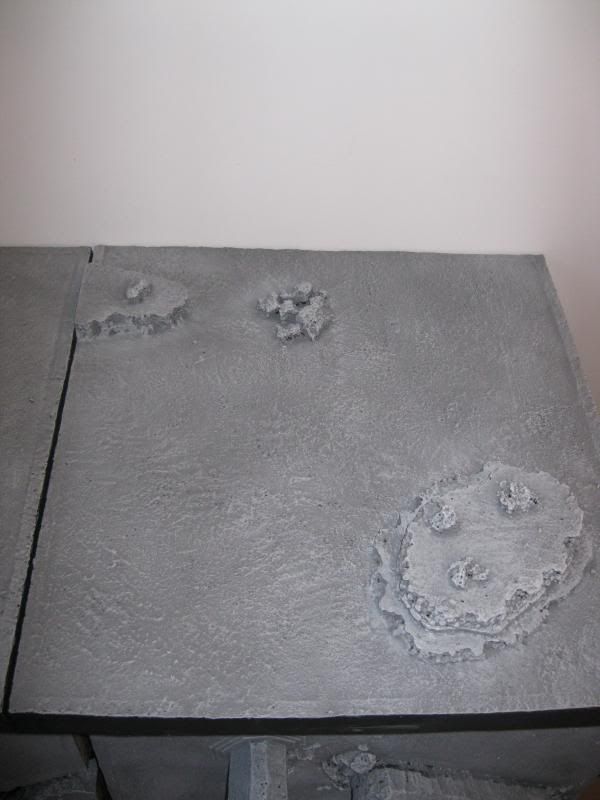
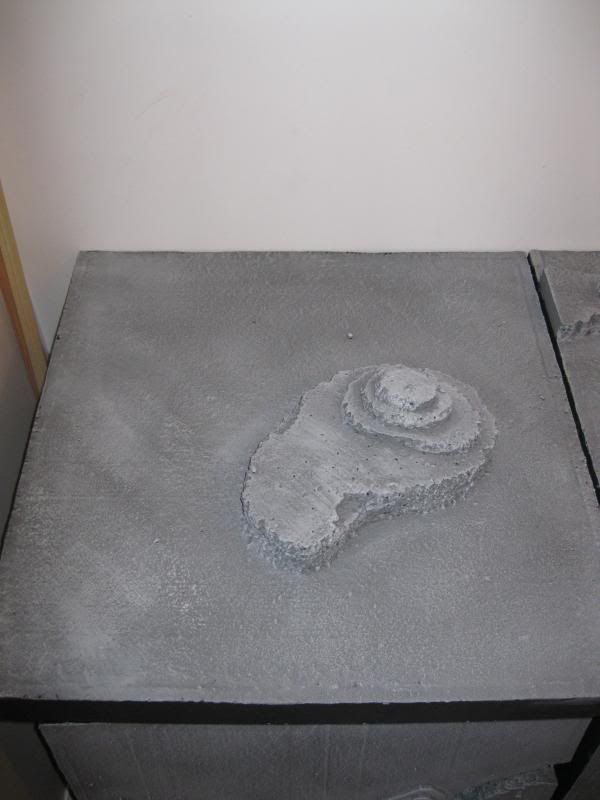
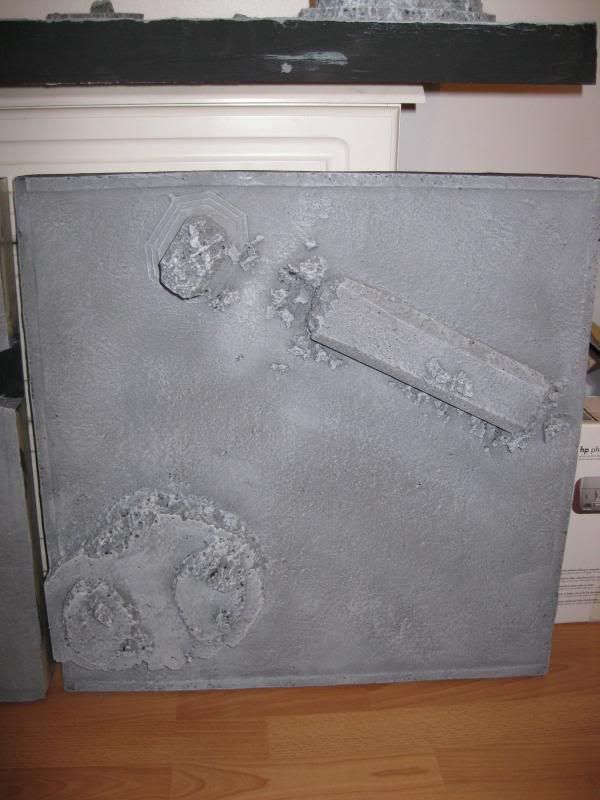
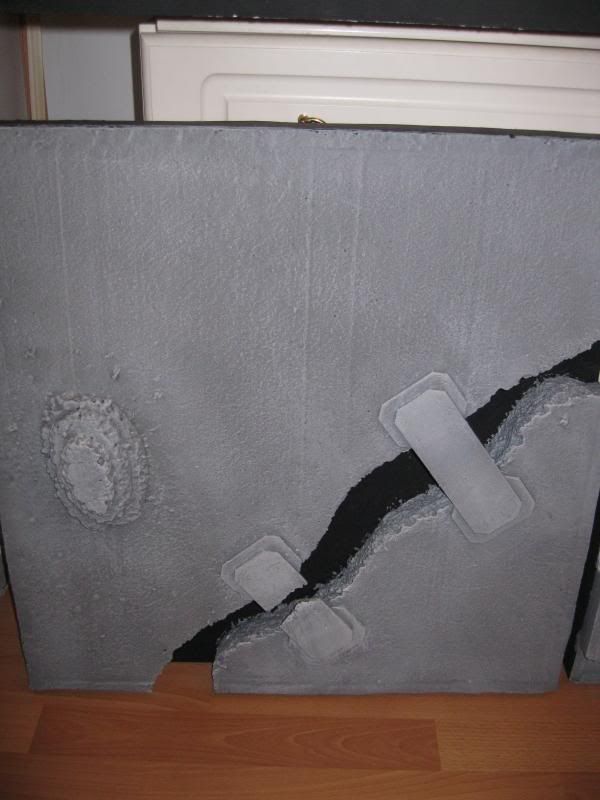
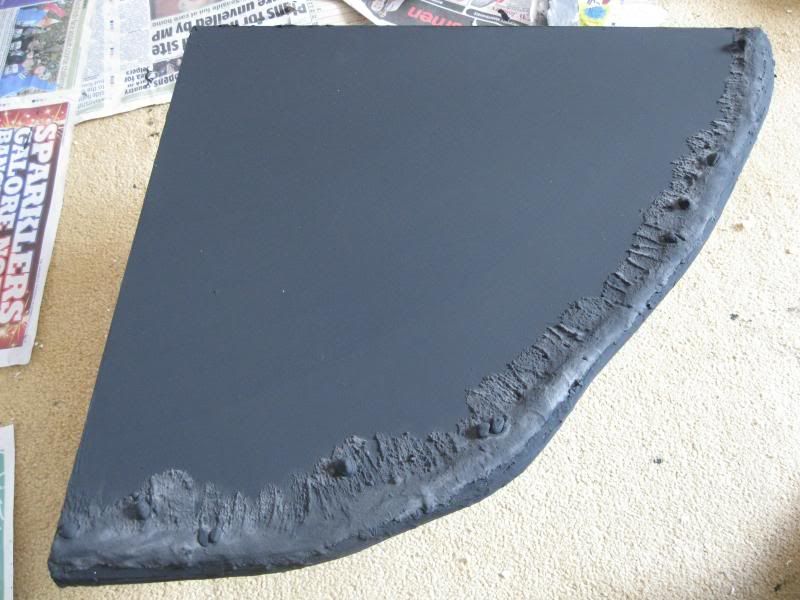
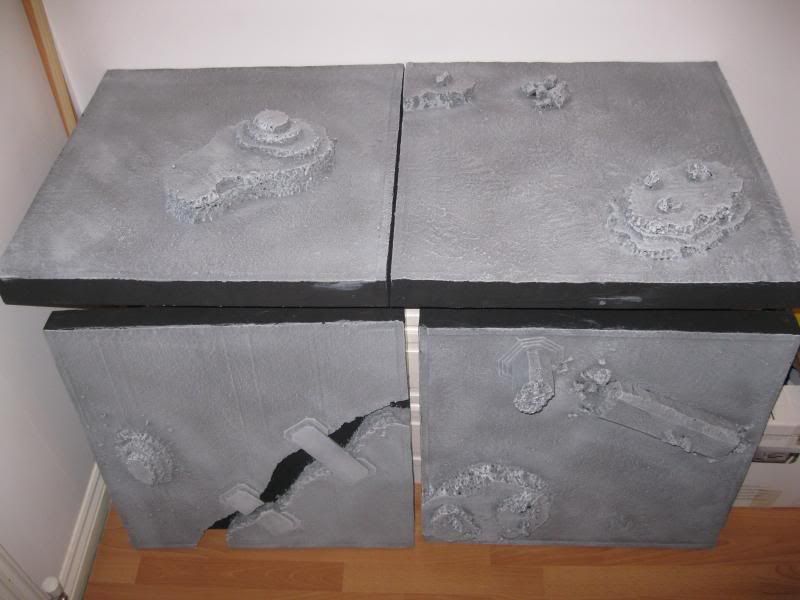
Just over six months after starting, work on the Moria boards is now more-or-less complete! Each of the boards has had a pretty heavy drybrush of light grey over the darker grey to bring out the texture of the base.    
All that's really left to do is just tidy up a few bits around the edges where the grey has gone over the black borders. 


But that's certainly not the end of the terrain-making adventures in Moria. With the boards in a playable state, I started looking for ideas for games to play with the boards. Reading through old White Dwarf magazines is something I like to do every now and again, and WD 322 contains a whole mini-campaign set in Moria - exactly what I was looking for!

My game boards weren't enough on their own though - several other bits of terrain would be necessary to pull this campaign off!

First up - the Walls of Moria!


The cliffs are needed for a couple of the scenarios in the campaign to provide an exit/entrance into Moria itself. These were made in much the same way as the hills for the game boards themselves; several layers of polystyrene cut out, glued and pinned together with cocktail sticks. Where the hills used three or four layers though, the cliffs required twelve layers to build them up to a suitable height! Sand was glued to the top of the cliffs in the same way as the game boards and they've been undercoated with black paint. They'll receive the same treatment as the boards with the grey and drybrushing later. They've been constructed to sit nicely on the edges of two of the boards.

Next up, Kheled-zâram, the 'Mirrormere', was also required. Due to the size required for the lake and the specifics of the required table layout for this scenario, there was only one place I could put the lake - over the top of the bridges and chasm. Of course, that meant that the lake couldn't be flat to the board and it would need to be built up in several layers to raise the lake above the bridges. 


In order to rise above the bridges, three layers of foamboard were needed. The first two layers have bridge-shaped cut outs in them, while the third layer is the one that is visible and would form the actual lake. It's designed to fit neatly into the corner of one board so two edges were left "level", while the curved edge was built up to form the banked edge of the lake. I happened to have some tile grout already mixed (I was supposed to be tiling a bathroom floor at the time...), so that's what I used to build up the bank but filler would have been my usual choice. A few small rocks were added while the grout was still wet, and once everything was dry it was all painted black as with the Walls. I'll paint up the bank in a similar fashion to the rest of the boards, but the lake itself will be painted as befits a water feature before I add water effects.


The next extra bit of terrain would be Balin's Tomb. 


The base is simply two pieces of foamboard (I didn't actually have a single piece big enough, so I made it in two halves instead) with low walls built up with polystyrene around each edge, with a gap left for the entrance in one wall. The pillars are simply dense polystyrene between squares of card mounted on 20mm square bases at each end. The tomb itself is built up from foamboard and thick card to give the desired shape and dimensions


There's just one more terrain piece to make, but this one would require a lot more work than the rest. More on that in the next post!

Thursday, 2 May 2013

Greyclaw Victorious!

The Skaven came out for another game last week, this time against Gary's Tomb Kings. We settled on a small affair of 1500pts, as we didn't have too long to play. It was also the first time that Gary had used the latest Tomb Kings army book, despite having owned his Tomb Kings army for several years! With my..ahem, I mean Warlord Greyclaw's dubious generalship and Gary's relative unfamiliarity with his own army, it looked set up to be an interesting encounter.

I was all prepared for battle report writing with camera, notebook and a selection of writing implements - unfortunately, in the event there wasn't much of a battle to report! You see, after a bit of moving and repositioning, Gary went a bit overboard with his incantations and managed to blow up his Hierophant on Turn 2. The turn after, a unit of Rat Ogres ploughed through his Tomb Prince and Chariots, and the game was effectively over before it had started. Gary conceded, and we packed everything away.

Of course, a Skaven general like Queek Greyclaw will revel in any victory he achieves, no matter how it comes about, but it was a rather disappointing way to spend an evening in the end. I did take a few pictures of the first couple of turns though, so I'll share those (up to the point where it all went wrong)

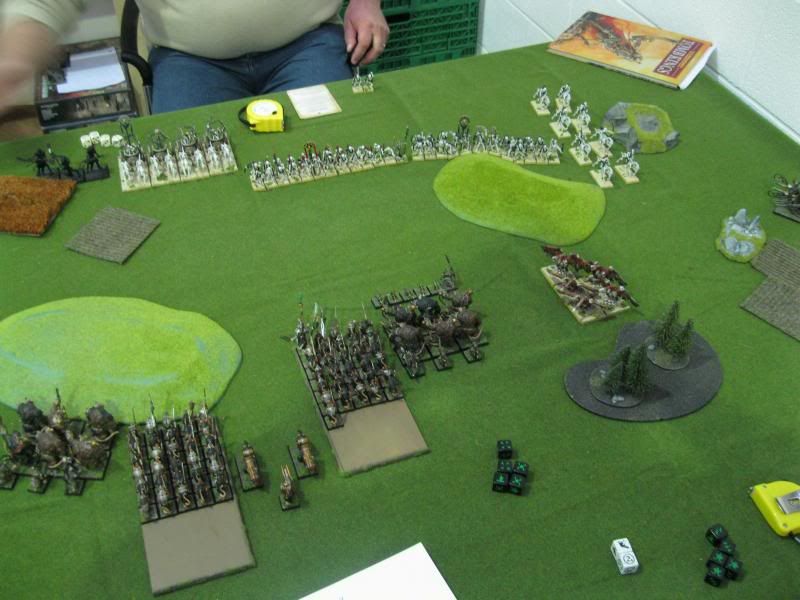
The armies deployed, ready for action

My new Warpstone-infused dice; could they be the cause of Gary's misfortune?

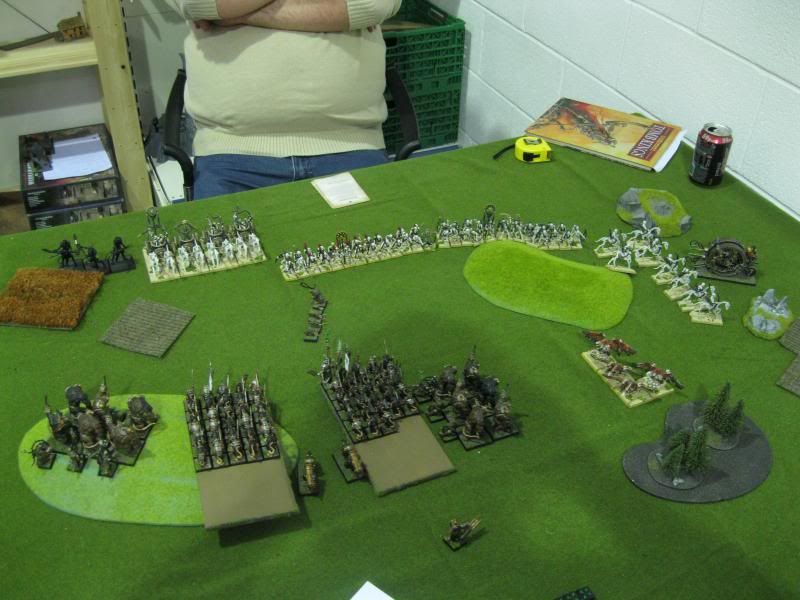
The Skaven make the first move, with a barely-controlled rush across the table

The Tomb Kings barely move at all, with the Carrion
 and Horsemen being the only notable exceptions

The Skaven advance more cautiously now, as the Horsemen prepare to
sacrifice themselves (again) in an attempt to slow the Doomwheel

Things start to look worrying for the Skaven, as Scorpions and Swarms pop up out of the ground around them

They think it's all over...

...it is now. 

So that was that. Not the greatest of games, but I'm sure a rematch will be arranged. 

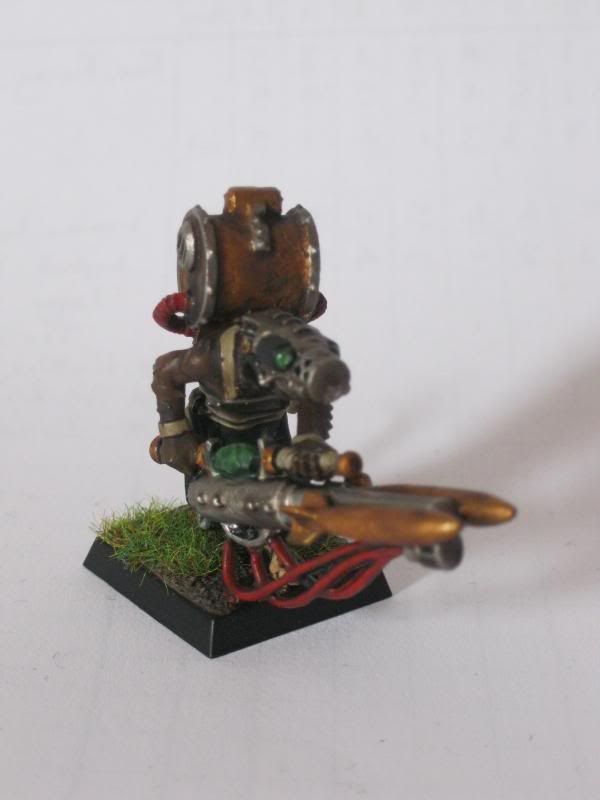
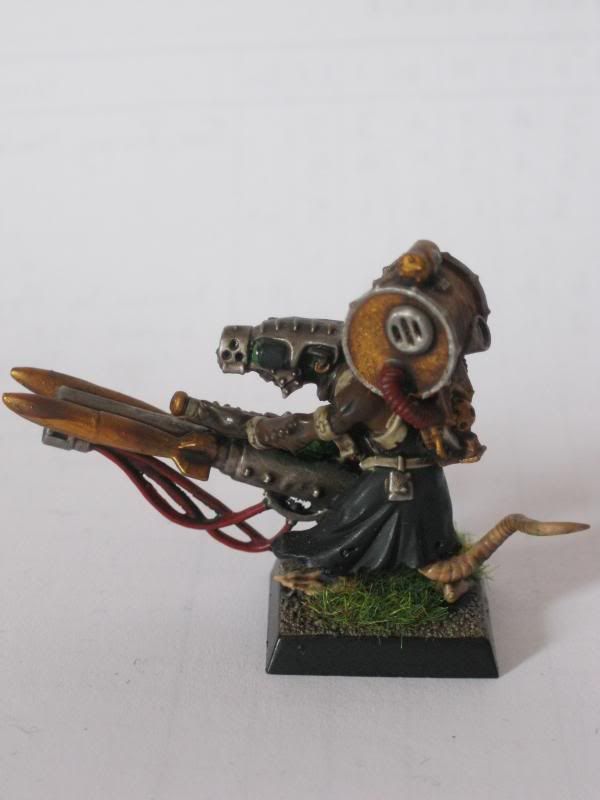
In other news, I finished painting a couple of new toys to take part in the game. First up, my converted Warlock Engineer carrying the dreaded Doomrocket (which is one of my favourite magic items!), which was constructed way back when I was taking part in the Tale of X Gamers on Asrai.org last year.


The model uses one of the spare Master Moulder figures I had from the Island of Blood set as the base. The Doomrocket itself uses the shock-prod "chassis" with the addition of a couple of Airfix bombs from a Harrier Jumpjet! The head is the alternative masked head from the Doomwheel kit, while the backpack is a resin Biohazard Backpack from Maxmini which I had spare from my still-WiP Globadier conversions.

The other new toy is yet another Poisoned Wind Mortar. The ability for them to move and fire makes them my default choice for Weapon Teams to accompany my Clanrat units, and dropping a small template's worth of death on enemy units is always fun