Showing posts with label The Lord of the Rings. Show all posts

Monday, 19 August 2013

The Rescue of Thrár

Scenario 3 - The Rescue of Thrár

In the aftermath of the assault on the Second Hall, Balin's scouting parties come under attack. Balin must mount a daring rescue...

Forces

Good
Balin
Dwarf Captain
8 Khazad Guard
2 Dwarf Warriors with shields

Evil
Goblin Captain
6 Moria Goblins with shields
6 Moria Goblins with spears
6 Moria Goblins with bows
Goblin Drum

Deployment

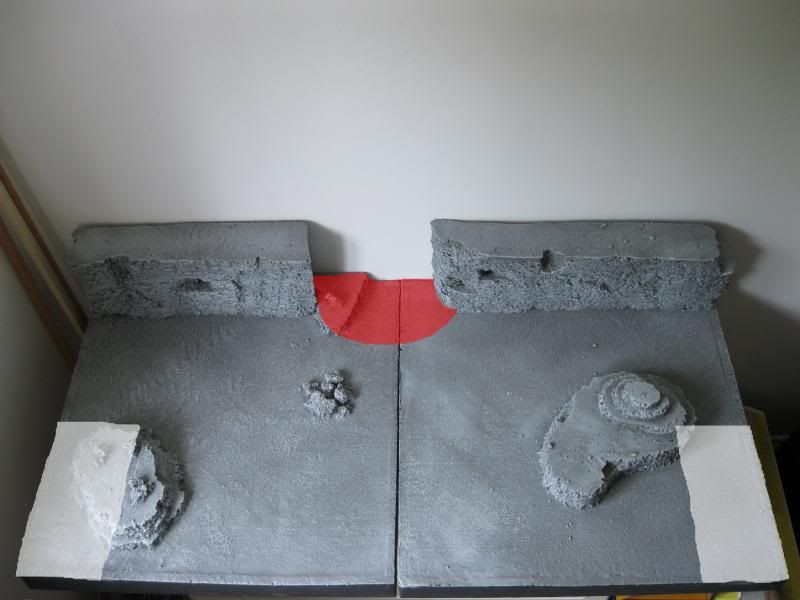
Thrár and the two Dwarf Warriors begin the game in hiding; the Good player takes three pieces of paper and writes Thrár's name on one of them. He then passes the folded pieces of paper to the Evil player, who places each piece next to some rubble or another suitable terrain feature further than 6" away from each other. This way, neither player knows exactly where Thrár is hiding, but each has a rough idea. Paul placed the pieces of paper at locations 1, 2 and 3 on the map.

Once the papers are placed, the Evil player deploys his force within the Goblin deployment area (as shown on the map, in red). Finally, the Good player deploys Balin and the Khazad Guard within their deployment area (as shown on the map, in white).

The Dwarf deployment zone in white, the Goblin deployment zone in red
and the three possible locations of Thrár's hiding place
Special Rules

Thrár
The hidden Dwarves are not deployed at the start of the game. When a model from either force comes within 6" of a piece of paper is is turned over. If Thrár's name is on the paper then the Good player may place Thrár and the two Dwarves with shields within 1" of the piece of paper. If the paper is blank, simply remove it from the game - Thrár is elsewhere.

Victory

The Good side wins if it manages to kill all of the Evil force or drive them form the field. If Balin or Thrár is slain, the Evil side wins. If both sides meet their victory conditions in the same turn, the game is a draw. 

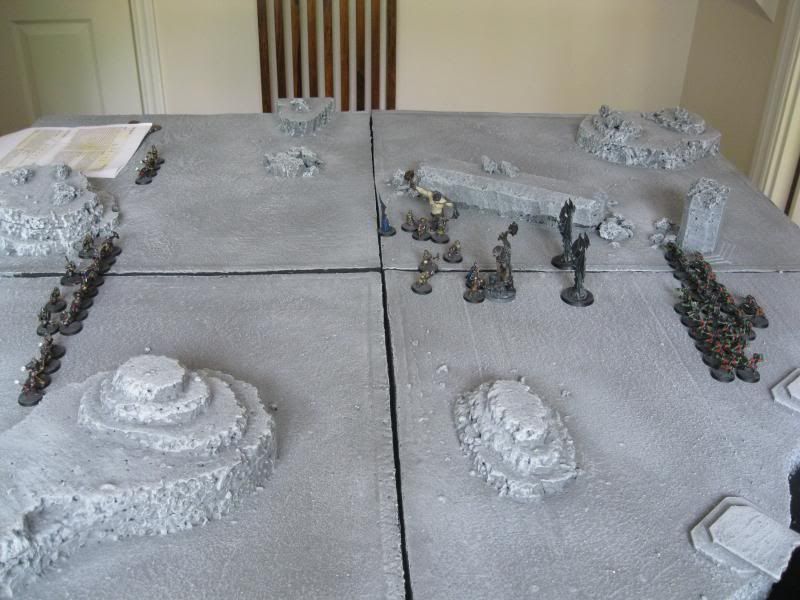
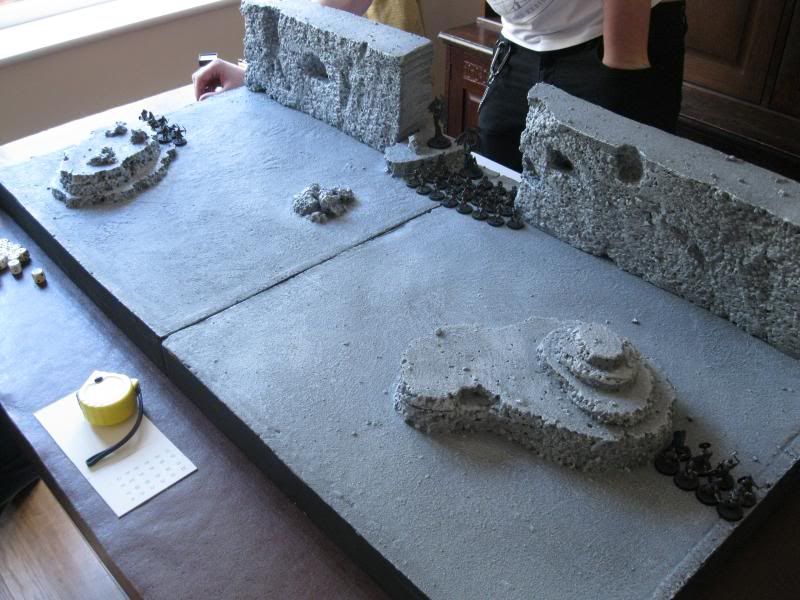
Paul's deployed his forces with the bow-armed Goblins positioned on the hill to pepper the Dwarf advance and the remainder of his forces in the centre ready to make a dash for the nearest piece of paper. Gary stuck all his Dwarves far out on the right flank, which was the only real option if he wanted to avoid getting swamped early.

Deployment
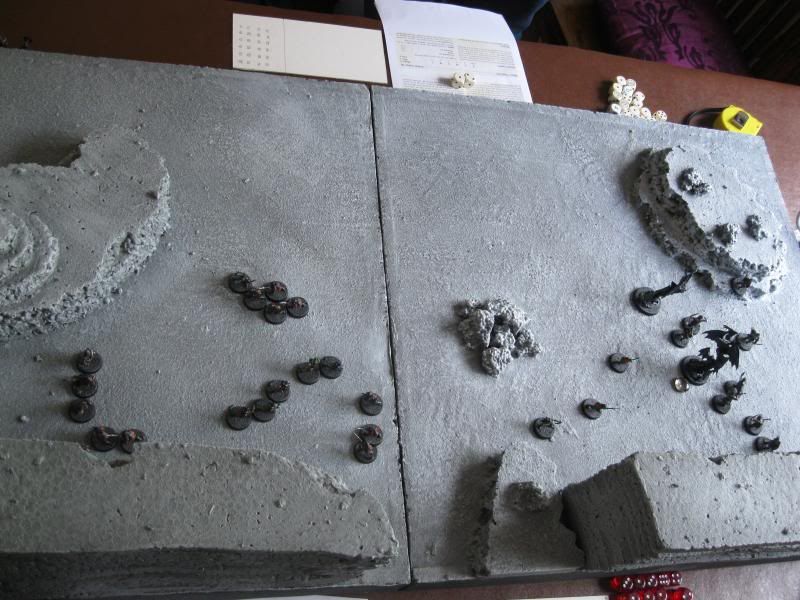
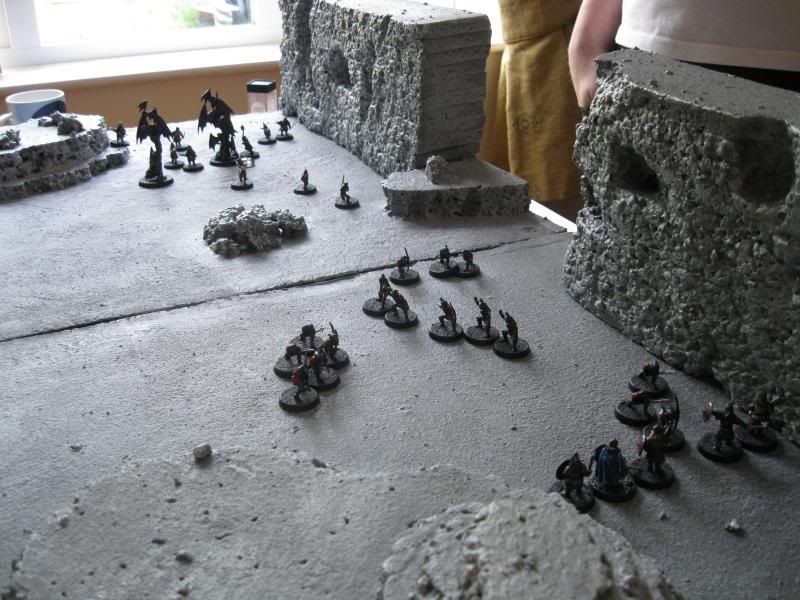
As usual, the Good side had priority in the first turn and Gary wasted no time in rushing as far forwards as he could, as quickly as he could, all the time peppered by the Goblin archers on the hill. The main Goblin force matched the Dwarves step for step, advancing as quickly as possible towards the central hill (location 2) with the majority of their troops but sending a small party across to head off the Dwarfs.

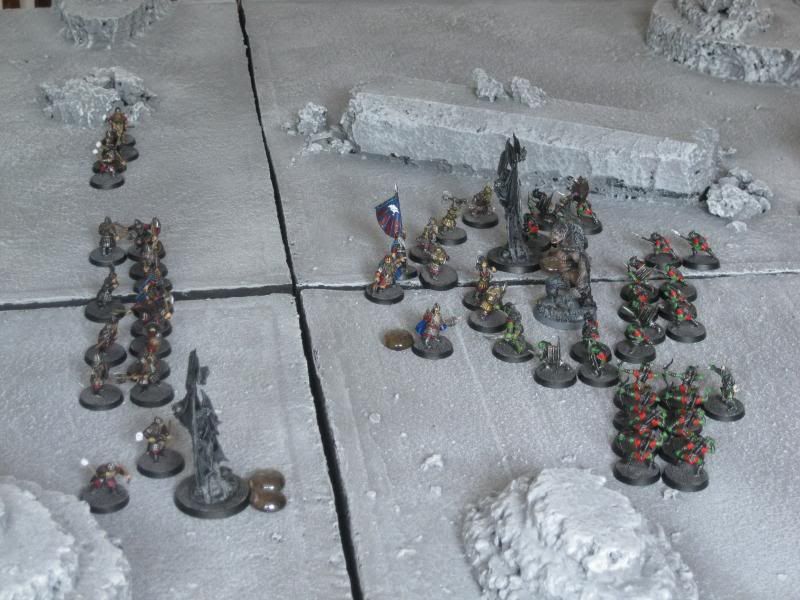
Balin and his Khazad Guard slice their way through the few Goblins
 in their way, as Thrár and his warriors are revealed.

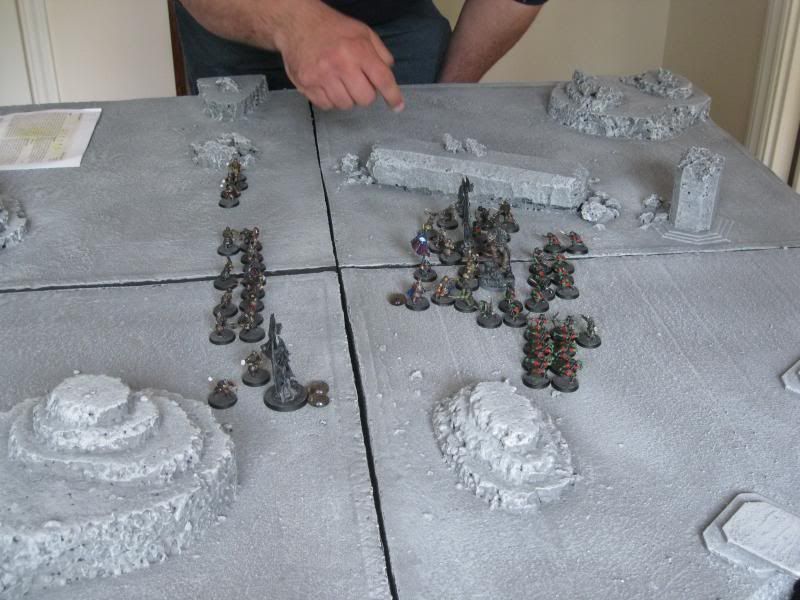
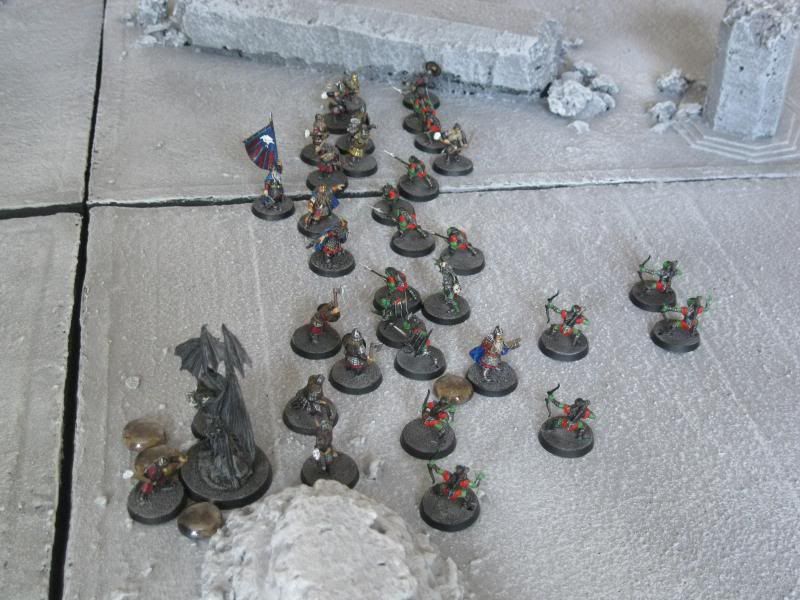
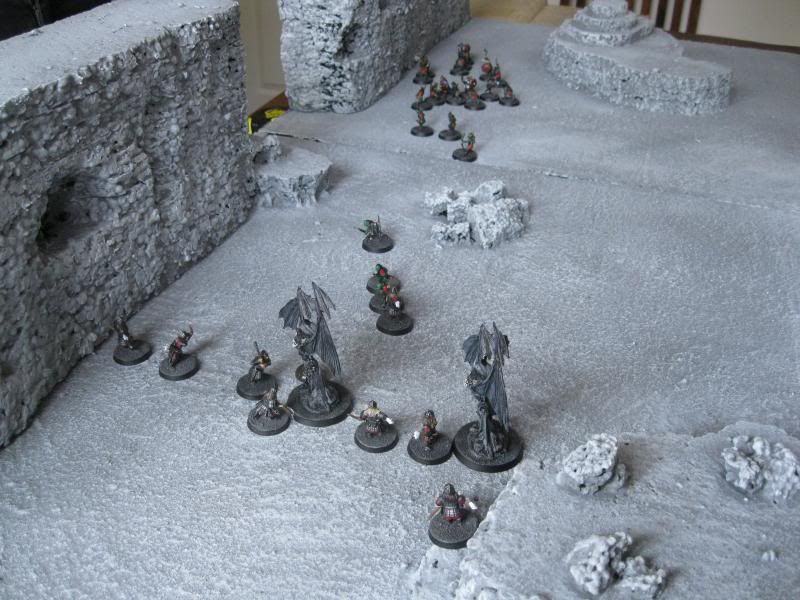
It wasn't long before the Goblins approached the central hill, and were close enough to reveal the paper bearing the name of Thrár. The Dwarf captain and his warriors were placed on top of the plateau, and the Goblins wasted no time in attempting the scale the slopes. With three doughty Dwarf warriors defending the slopes, it proved difficult work as the Goblins struggled to gain a foothold at the top of the climb, with the Dwarves making the most of the narrow heights to limit the number of Goblins who could make it into combat.

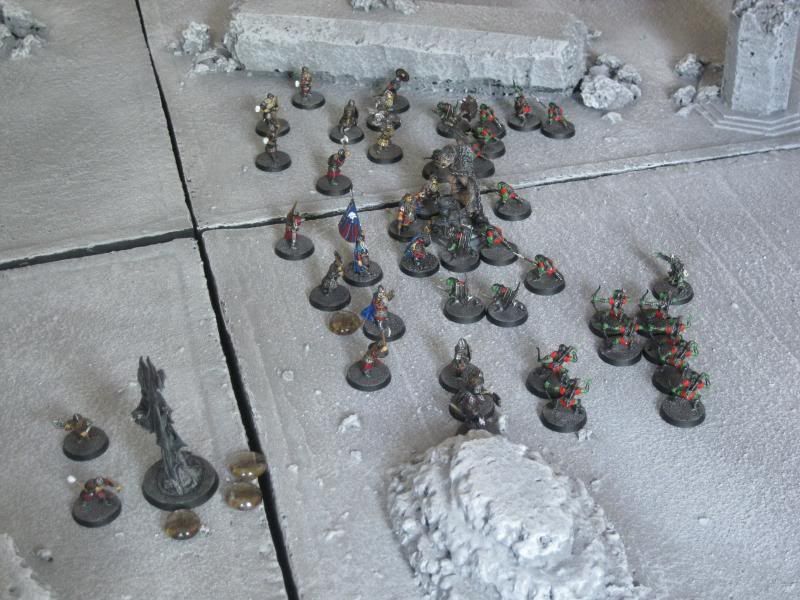
Thrár and his warriors fight off the swarm of Goblins at the top of the plateau
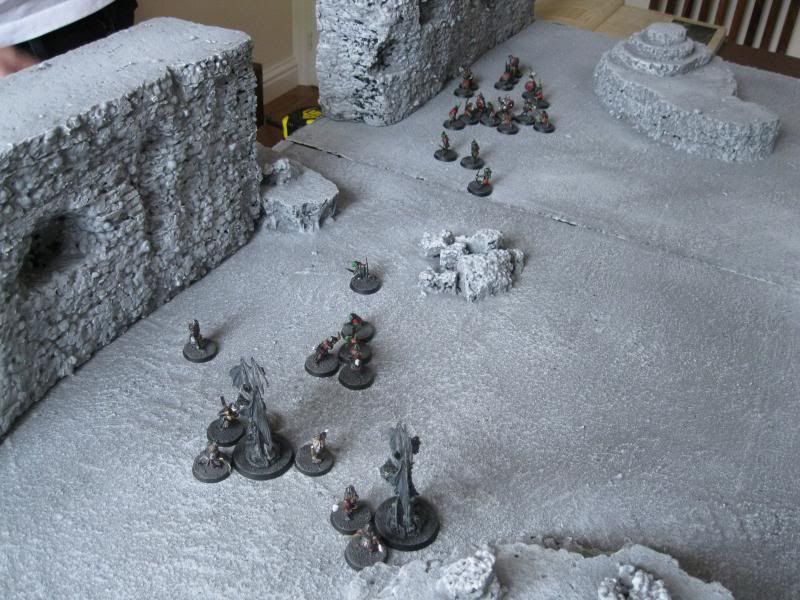
With Thrár and his warriors doing a sterling job of holding off the Goblins on the plateau, Balin and his Khazad Guard had plenty of time to cut their way through those Goblins still left on the ground., including the Drum which turned the tide of the battle once and for all.

With the Drum dead, the upper hand goes to the Dwarves

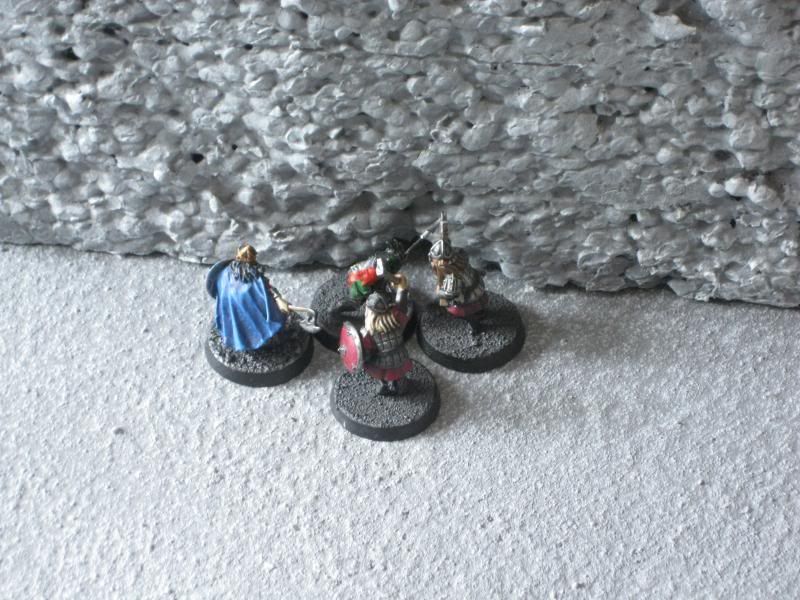
With only the Goblin bowmen left on the ground, it didn't take long for the Dwarves to begin climbing the plateau to fight alongside Thrár. 

The dwarves continue to cut their way through the Goblins on the plateau
It wasn't long before the Goblins reached breaking point, and as had happened in the previous two games, the Goblin courage didn't last long and the Dwarves quickly swarmed up onto the plateau to deliver the coup de grace to the few Goblins that remained.

Not many left now...
The Dwarves swarm over the remaining Goblins, and quickly put them out of their misery.
So we reach the halfway point of the campaign and the Dwarves are 3-0 up; the best Paul can hope for now is a draw, but he'll have to pull out all the stops to get one! Luckily, the second half of the campaign gets harder for the Dwarves. We'll resume the campaign in Scenario 4 - Kill the Goblin King

Sunday, 18 August 2013

Battle for the Second Hall

It's been a long time since I posted the first part of our ongoing LotR Moria campaign - with summer in full swing though, we've had to deal with holidays, childcare arrangements, more holidays and all sorts of other conundrums that have conspired to limit the playing time we've been able to put into this campaign BUT we're now looking to resume play, and so it's about time I posted up where we are so far and got everyone up to speed! I hereby present the second game of the "Reclamation of Moria" campaign, with the score currently 1-0 to Balin's Dwarves (commanded by Gary).

Scenario 2 - Battle for the Second Hall

The second scenario introduces the main protagonists of the campaign - Balin, Lord of Moria and Durburz the Goblin King. This scenario forms the first of the pitched battles, pitching the majority of each side's forces against each other. Balin and his vanguard have been busily hewing goblins, and now find themselves standing almost alone against the bulk of the Goblin army, waiting for their own reinforcements to catch up.

Forces

Good
Balin
2 Dwarf Captains with shields
6 Khazad Guard
8 Dwarf Warriors with shields*
8 Dwarf Warriors with bows*
3 Dwarf Warriors with two-handed axes
1 Dwarf Warrior with banner

* I had to make a slight adjustment to the forces, adding in two Warriors with bows and two Warriors with shields in exchange for an additional Banner Bearer, due to not being able to get the model ready in time.

Evil
Durburz, the Goblin King
Moria Goblin Shaman
2 Cave Trolls with troll chains
8 Moria Goblins with shields
8 Moria Goblins with spears
8 Moria Goblins with bows
2 Bat Swarms

Deployment

First, Balin and up to twelve additional Good models had to set up within 6" of the board centre. The remainder of the Good force were set up within 3" of the northern board edge. The Evil player begins by deploying the two Cave Trolls within 6" of Balin (note: not within 6" of the centre, within 6" of Balin himself) and then the remaining Evil forces are set up within 3" of the southern board edge.

The white central circle denotes where Balin and his group may deploy. The red ring is not wholly accurate, as the Cave Trolls are deployed depending on the exact position of Balin himself, but gives an idea of the possible position. The white and red areas at the top and bottom of the board denote the main Good and Evil deployment zones, respectively.

Special Rules

Stygian Gloom
Due to the reduced visibility, models may not shoot at targets more than 12" away. However, because it is harder to avoid a shot in the dark, all Shooting attacks receive a +1 bonus on the roll to wound.

Victory

The winner is the side that reduces their opponent to 25% strength or less. If both sides achieve this in the same turn, the result is a Draw. If Balin is slain, the best result the Good side can achieve is a Draw, and likewise for the Evil side if Durburz is slain.

With another non-standard deployment, Gary had a few decisions to make - where to place Balin, and who to choose to accompany him in the centre of the board. In the end, Gary decided to deploy Balin in the very centre of the board, and chose to accompany him with all of the Khazad Guard as well as the Banner Bearer and one of the Captains, which he deployed in a roughly circular cordon around Balin (not knowing where the Trolls would be placed, Gary couldn't afford to leave an avenue unguarded). The rest of the Good force was deployed as close as it could possibly get, with the bowmen out on the flanks and the Dwarf combat warriors packed into the centre ready to pile into the action.

In response, Paul placed by Trolls on his own side of the table (i.e. further away from the mass of Gary's Dwarfs), on either side of the Dwarf cordon (imagine 4 o'clock and 8 o'clock, with Balin being 12 o'clock). The rest of the Goblin forces were deployed in a huge phalanx, ignoring the flanks altogether and with the Bat Swarms placed to swoop into the Trolls' combat at the earliest opportunity.

The game began with the Dwarves taking an aggressive approach and deciding to take the Trolls on head-on, with Balin and two Khazad Guard charging one and another Khazad Guard and the Captain charging the other. The rest of the Dwarves advanced as fast as their little legs could carry them. In response the Goblins did the same, with the Bat Swarms swooping close to the combat and ready to intervene in the second turn.

The first turn begins with the Trolls getting into the thick of things immediately.
Balin and his vanguard took down the first Troll in short order, with no losses in return, but the rest of the Goblin forces were now approaching (and were closer to the combats than the Dwarves, thanks to the movement of the fighting).

The fighting thickens as the Goblins and Dwarfs approach
The early advantages went mostly the way of the Goblins, but they struggled to lands the killing blows to cut through the sturdy Dwarf armour as they failed to capitalise on their streak of winning combats.
The Goblins press the attack while the main Dwarf battleline is still a couple of moves away.
With the Dwarf force within charge range the tide turned on the Goblins as Durburz was brought low by Balin himself and the second Troll collapsed in the same turn. With the collapse of their leader, the Goblins seemingly lost all will to fight as the Dwarves finally crashed into their lines and the momentum of the battle began to swing in favour of Balin's forces.

With Durburz down and the main Dwarf force arriving, the pressure is on the Goblins...
It wasn't long before the superior fighting force of the Dwarves began to tell on the Goblins, with casualties mounting up quickly (on both sides, it must be said). It looked for a moment that the Goblins might hold out, with the Dwarves two models from 50% and the Goblins three models away, but Balin picked his moment to unleash his impressive killing power again and cut down another two Goblins before ploughing into the Shaman and cutting him down too. With the magical boost of "Fury" gone and the Goblins now taking Courage tests, the game was effectively over - with a Courage value of just 2, there weren't going to be many passes and so it proved, and the Evil forces quickly crumbled as the Dwarf march continued.

The demise of the Goblin forces is soon to come...

So the score is now 2-0 to the Dwarves, as the game played out the same as in the first scenario albeit on a larger scale. The Goblins failed to take advantage of their early opportunities, Durburz was carelessly exposed to the best fighter on the Good side (indeed, one of the best fighters in the whole LotR game!) and the debilitating effect of the Bat Swarms wasn't utilised to it's best effect (they have the potential to completely cripple elite fighters like Dwarves) as Paul chose to send them off to chase the Dwarf bowmen, who realistically never formed a threat. 

So could Paul begin to turn things around in Game 3? Stay tuned to find out! 

Sunday, 16 June 2013

Assault on the Eastgate

Time to get started on that backlog of blog posts then!

If you've read the blog of late, you'll no doubt have noticed that my focus recently has been almost exclusively Lord of the Rings, and Moria in particular. The aim was to produce a set of terrain (and the necessary figures) to allow me to run a mini-campaign telling the tale of Balin's attempted reclamation of Khazad-dûm. 

Well, a couple of weekends ago, I reached a stage where the games could begin so I got Paul and Gary together to get the campaign started! We started bright and early (drinks and bacon butties were provided) and Gary and Paul rolled off to decide who would take command of which side. Gary won the roll off and plumped for the Dwarves, leaving Paul to take command of the Moria Goblins.


Scenario 1 - Assault on the Eastgate


The first scenario involves the Dwarf vanguard attempting to gain a beachhead in the caverns of Moria, to open the way for the main force under Balin's command. 

The game was played on a 2'x4' board (using two of the modular boards I've built), with one of the long edges forming the Walls of Moria with the Eastgate itself located in the very centre of the long edge. 

Forces

Good
Dwarf Captain with shield
6 Dwarf Warriors with shields
6 Dwarf Warriors with bows
3 Dwarf Warriors with two-handed weapons

Evil
8 Moria Goblins with shields
8 Moria Goblins with spears
8 Moria Goblins with bows
2 Bat Swarms

Deployment

First, the Dwarves had to split their forces into two equal-sized groups (8 Dwarves in each). One group was then deployed in the north-eastern corner of the board, up to 12" in and 6" deep, as shown on the map below. The second group then deployed in a similar position in the south-eastern corner of the board. Once the Dwarves were deployed, the entire Goblin force deployed within 6" of the Eastgate. Gary split his Dwarves so that the Captain and seven of the non-bow armed Dwarves deployed on the north corner, while the Dwarves with bows and the remainder of the non-bow armed Dwarves deployed to take advantage of the heights in the south corner. Paul established a perimeter with his Goblins; shields at the front, supported by spears, bows in the space behind with the Bat Swarms ready to fly over everyone.


The white boxes show the Dwarf deployment zones;
the red semi-circle is the Goblin deployment area


Special Rules

Unstable Footing
Any Jump or Climb tests taken by any model (except Moria Goblins) suffers an additional -1 dice modifier


~ ~ ~ 
Deployment - it looks like a tough task for the Dwarves to break through the Goblin cordon.

As per normal, the game started with the Good side getting priority. Gary's Dwarves mostly advanced as far as they could, with the bow-armed Dwarves taking up position along the edge of the plateau in order to launch shots against the Goblins. Paul split his forces, with the majority of his models heading north to take on the Dwarf Captain while the remainder went south accompanied by the Bat Swarms.


An odd angle to demonstrate the disposition of both sides. 

The fighting was quickly joined, with Paul initially gaining the upper hand as his Goblin archers scored several unlikely wounds. 
 The Dwarves from the north (left) make a stand in the narrow gap between the
plateau and the Walls to prevent the Goblins from surrounding them.

Meanwhile, the Bat Swarms make a nuisance of themselves but are
unable to make much headway without support from any Goblins.
Eventually though, the Goblin numbers began to dwindle as the Dwarves managed to avoid being ganged up on and arranged several one-on-one fights, which they inevitably won (although it took them some time to slay their enemies - Gary would have made much quicker progress if his dice-rolling was any good!)

The Goblin numbers dwindle, the Dwarves press their advantage
and soon the result is a forgone conclusion
With the Goblin numbers dwindling each turn, it wasn't long before Paul's force was broken and the inevitable failed Courage tests came along (with only Courage 2 and no Heroes to support the warriors, the Goblins were never going to stick around for long once broken). 
The final combat - the Dwarf Captain and two of his warriors close in on the sole remaining Goblin, easily slaying him and ensuring a wipe-out for Gary!


So the first scenario turned out to be a solid victory for Gary, and the Dwarves managed to secure their way into Moria. This initial scenario would prove to demonstrate several recurring traits for the games to come - Gary can't roll To Wound dice for toffee, and Paul's Goblin archers are lethal! 

More to come soon!

Wednesday, 8 May 2013

Hunting the Goblin King

As I mentioned in the last post, there's one more 'piece' of terrain that I need for my planned Moria campaign. This one has a bit of a difference to the previous pieces though, as it's less of a piece of terrain and more of a whole new game board in it's own right!
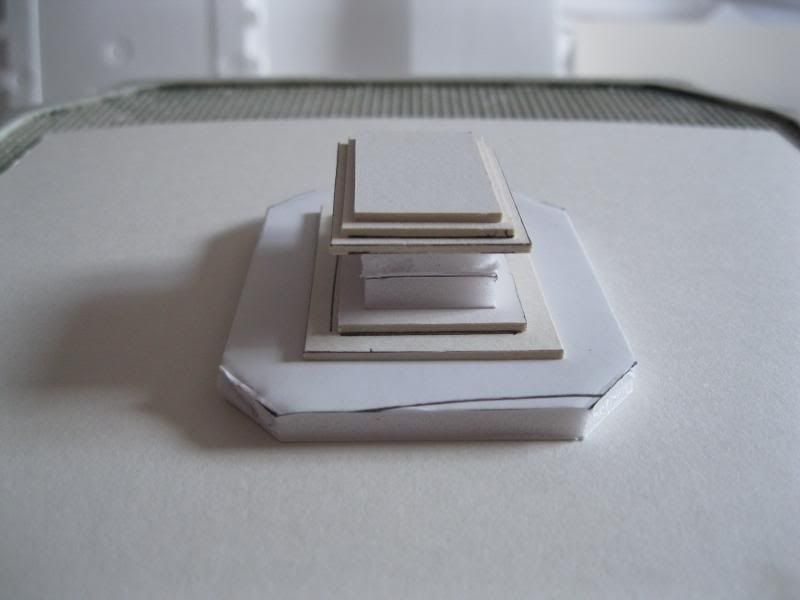
The scenario in question revolves around the Dwarfs of Balin's Expedition attempting to hunt down and kill the Goblin King, and is set in the Goblin King's throne room. None of my existing boards would be anywhere close to suitable for use as a throne room, and the WD campaign used a specially built throne room so I decided to do the same.


The basic shape of the throne room is an 'H' shape laid on it's side, with the actual throne as an extension. First, I measured out and cut a template from thick card and then used the card to cut out a layer of roughly 1cm polystyrene. With the polystyrene cut out, it was glued to the card to provide a bit of stability to base.


The throne extension consists of several raised platforms with the throne at the very top and back of the board. I built this part separately for ease of transport and storage. It's constructed from three layers. The first, and lowest, just covers the two front corners of the extension and matches the level of the rest of the board. The next layer is the first raised platform, and is made of thick dense polystyrene (which made cutting much easier!). The shape is roughly octagonal, although the first layer has a trapezoid extension at the front. The second layer is simply a big octagon. The cutouts in both levels leave room for three sets of steps in each level. 


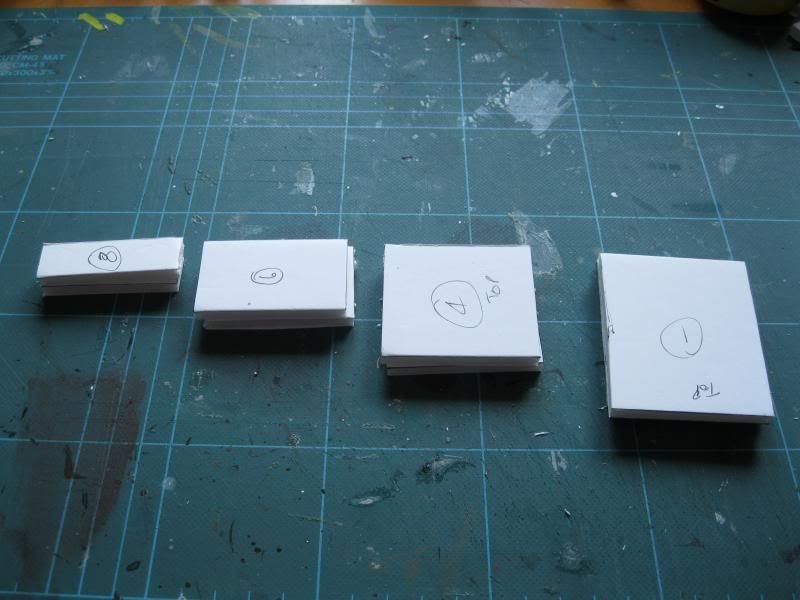
The steps were made from foamboard, with two pieces forming each step. After a few careful calculations, each step has room for a figure to stand on as well! 


Just four more sets of stairs to go! Measuring and cutting all the steps takes quite a while, but it'll be worth it. 

The throne itself was one of the first parts of the throne room that I made


Of course, the throne room board is still a long way from finished. It's designed to quite close and tight to move around, with plenty of pillars and obstacles to make a pretty packed fighting environment. 

I'll be back with more soon!

Tuesday, 7 May 2013

Delving of the Dwarves

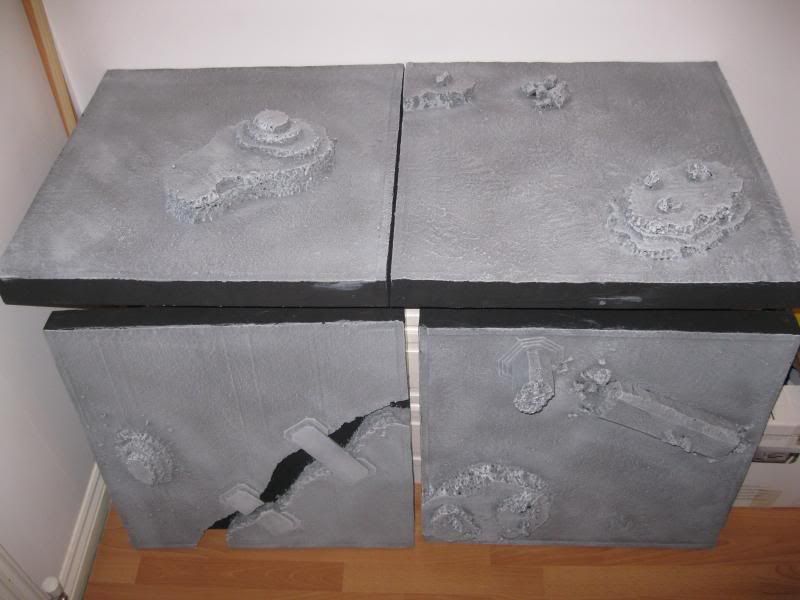
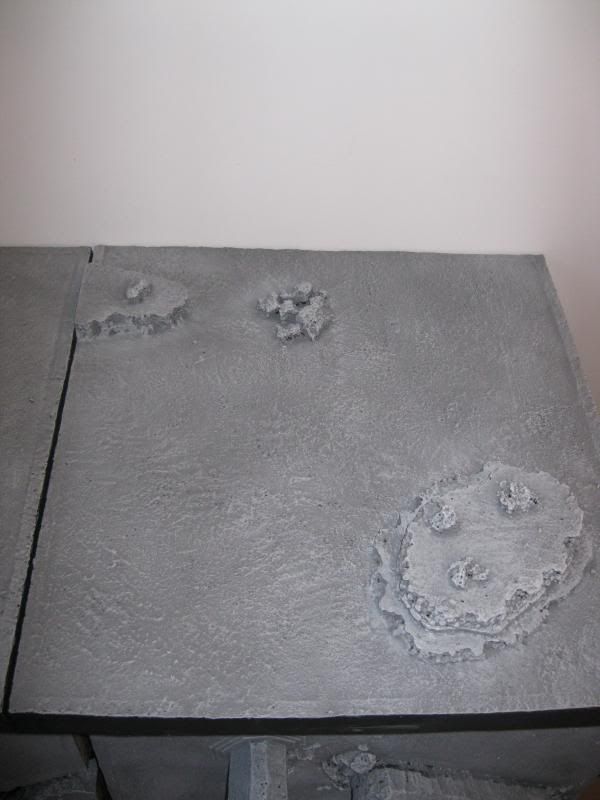
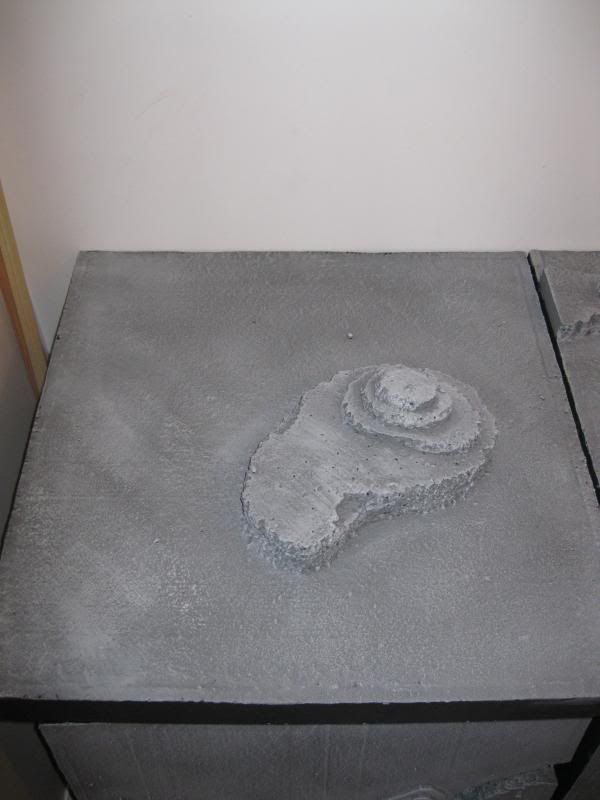
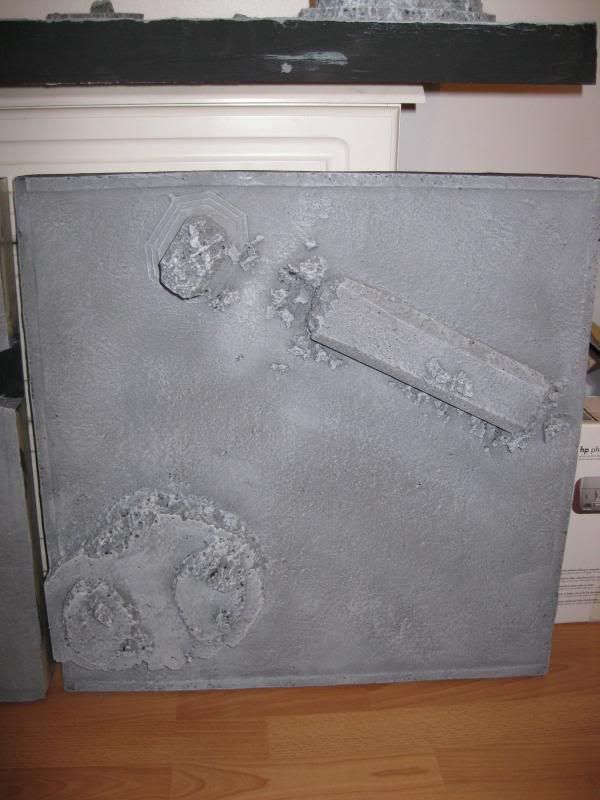
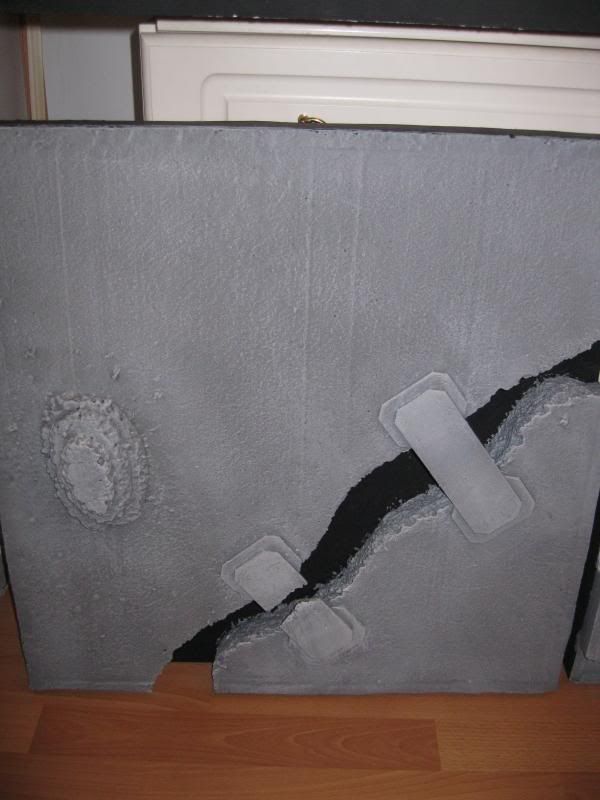
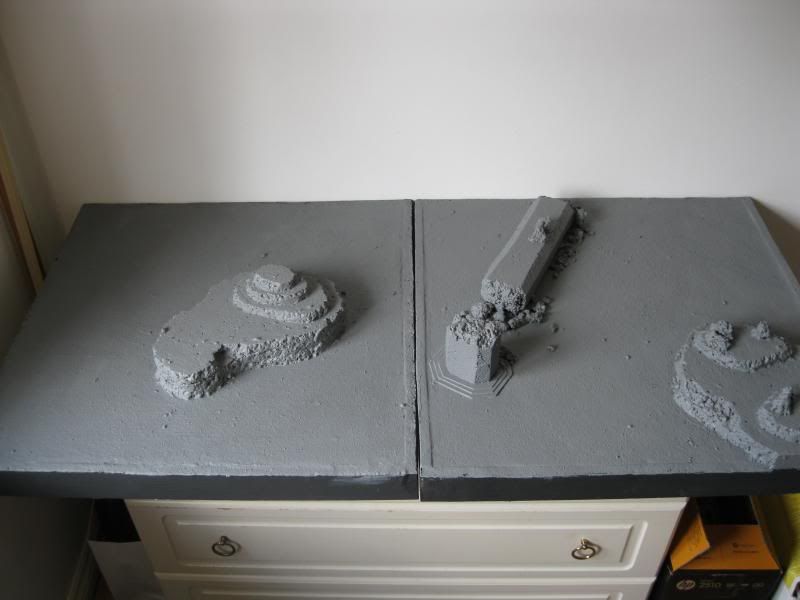
Just over six months after starting, work on the Moria boards is now more-or-less complete! Each of the boards has had a pretty heavy drybrush of light grey over the darker grey to bring out the texture of the base.    
All that's really left to do is just tidy up a few bits around the edges where the grey has gone over the black borders. 


But that's certainly not the end of the terrain-making adventures in Moria. With the boards in a playable state, I started looking for ideas for games to play with the boards. Reading through old White Dwarf magazines is something I like to do every now and again, and WD 322 contains a whole mini-campaign set in Moria - exactly what I was looking for!

My game boards weren't enough on their own though - several other bits of terrain would be necessary to pull this campaign off!

First up - the Walls of Moria!


The cliffs are needed for a couple of the scenarios in the campaign to provide an exit/entrance into Moria itself. These were made in much the same way as the hills for the game boards themselves; several layers of polystyrene cut out, glued and pinned together with cocktail sticks. Where the hills used three or four layers though, the cliffs required twelve layers to build them up to a suitable height! Sand was glued to the top of the cliffs in the same way as the game boards and they've been undercoated with black paint. They'll receive the same treatment as the boards with the grey and drybrushing later. They've been constructed to sit nicely on the edges of two of the boards.

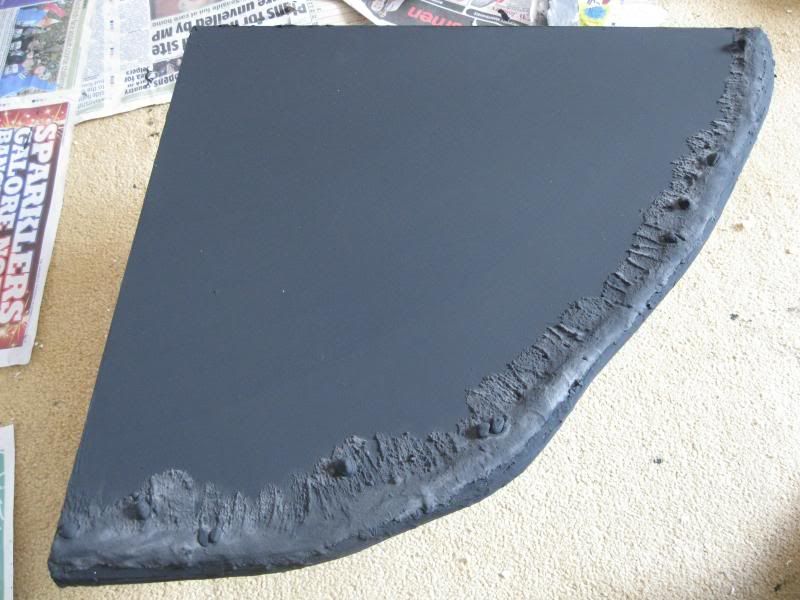
Next up, Kheled-zâram, the 'Mirrormere', was also required. Due to the size required for the lake and the specifics of the required table layout for this scenario, there was only one place I could put the lake - over the top of the bridges and chasm. Of course, that meant that the lake couldn't be flat to the board and it would need to be built up in several layers to raise the lake above the bridges. 


In order to rise above the bridges, three layers of foamboard were needed. The first two layers have bridge-shaped cut outs in them, while the third layer is the one that is visible and would form the actual lake. It's designed to fit neatly into the corner of one board so two edges were left "level", while the curved edge was built up to form the banked edge of the lake. I happened to have some tile grout already mixed (I was supposed to be tiling a bathroom floor at the time...), so that's what I used to build up the bank but filler would have been my usual choice. A few small rocks were added while the grout was still wet, and once everything was dry it was all painted black as with the Walls. I'll paint up the bank in a similar fashion to the rest of the boards, but the lake itself will be painted as befits a water feature before I add water effects.


The next extra bit of terrain would be Balin's Tomb. 


The base is simply two pieces of foamboard (I didn't actually have a single piece big enough, so I made it in two halves instead) with low walls built up with polystyrene around each edge, with a gap left for the entrance in one wall. The pillars are simply dense polystyrene between squares of card mounted on 20mm square bases at each end. The tomb itself is built up from foamboard and thick card to give the desired shape and dimensions


There's just one more terrain piece to make, but this one would require a lot more work than the rest. More on that in the next post!

Thursday, 18 April 2013

Once More Into Moria

Slowly but surely, work is continuing on my Moria gameboards. The basecoats are now down, so next up will be drybrushing to add some depth to the surfaces. Nearly there now!


I've also finished up another couple of Dwarves ready for the first expedition into Moria (once the gameboards are ready!). Another Captain (because I need more leaders) and a Banner Bearer (which are always useful). 


Thursday, 14 March 2013

WMMS 2013

Sunday 10th March was the date of the West Midlands Military Show held at Aldersley Leisure Village. Unlike last time, this year we went along simply as punters rather than as "demonstrators". Demonstrating our TYW game at Wargamer back in December with just three of us proved to be a struggle, and so with no one available to step in and help us run the game, we decided to take a break. 

Of course, not running a game meant we all had more time to look around the rest of the show. There was the usual range of traders and model displays (though to be honest, I'd rather they didn't bother with the displays - they take up room that could be used for more traders and games!)

So what did I buy? 

Well, not as much as usual. First, a trip to Ainsty Castings where I picked up several blisters for use in 7TV.

The Guru - Every spy-fi game needs an evil villain!

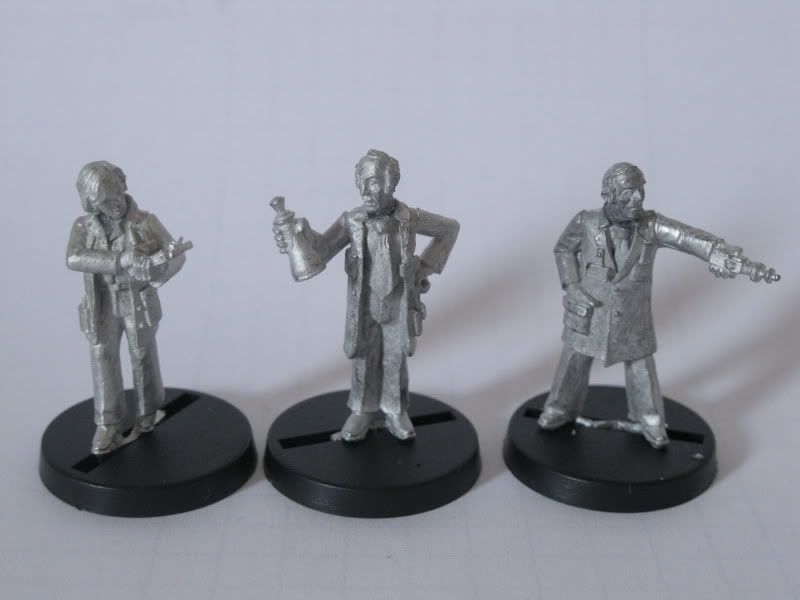
Scientists - boffins for either side

Minion Specialists - a flamethrower and mechanic

Minions armed with pistols

And various assorted minions, lining up to die horrible (and comedic) deaths

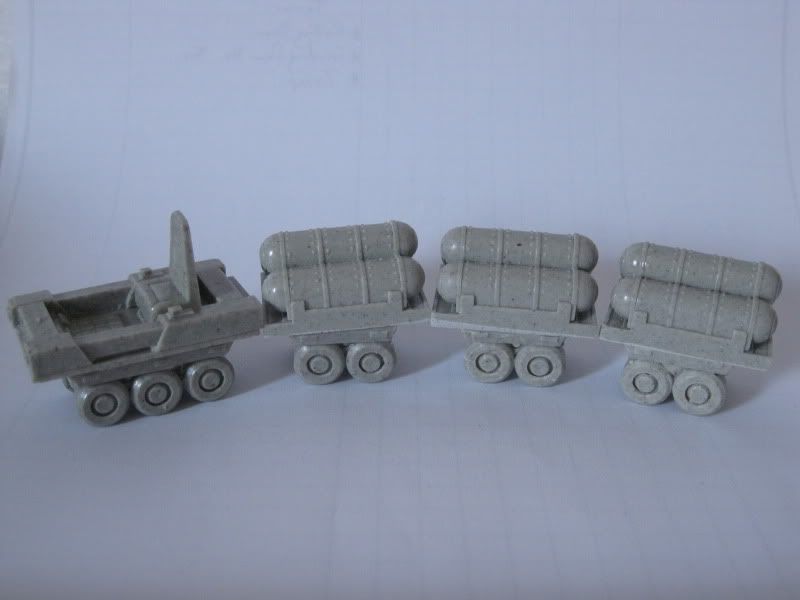
Precious cargo!

Then, a trip to Frontline Games, who had 20% off Malifaux


Snow Storm will go straight into my Rasputina crew. The Seamus Avatar, however, I don't intend to use for Malifaux - I've no intention of playing Resurrectionists, but ever since I first saw the model I've thought it the perfect model to use for a Mr Hyde. When we eventually get some Victorian Sci-fi games going, it will be perfect. 

I also popped down to take a look at the Bring and Buy stands, and found a few bits and bobs - namely, a bunch of Uruk-hai Scouts and a box of cheap Wood Elf Glade Riders (not pictured). I've wanted Uruk-hai Scouts for a while, to play all those Fellowship of the Ring scenarios (as all I have so far are Isengard Uruks, in full armour, they weren't really suitable). 

The Glade Riders were too cheap to resist (a quarter of the price of a box from GW!), so they will be added to my Wood Elves in due course.


And finally - I mentioned in my last post that I've recently aged another year. Alongside several other pressies, I managed to blag my other half into buying me toys! 


Of course, this does rather go against the target I set at the beginning of the year to paint twice as many models as I buy, but I still have plenty of time to get painting, right? (and who's counting anyway?!!)