Been working steadily on the trees and hedges for the TYW table this week. Less than two weeks to go now!
The tree bases started off as circles of card, with smaller circles in the centre to get a bit of elevation. The bases were then painted with Scorched Brown (the closest match I've got to the Bitter Chocolate paint we've used on the rest of the boards). Railway ballast applied, and then another coat of Scorched Brown finishes them off. We'll probably give them a drybrush of the Nutmeg Spice colour to blend them with the wood templates, but other than that they're pretty much done.
The hedges were even simpler. Bases cut from bass wood, with the edges cut and sanded to give a chamfered edge and the ends rounded to prevent warping. The bases were then painted Scorched Brown, ballast was added before another coat of Scorched Brown. The final picture shows what they'll look like with the hedges attached! These will probably need a bit more than the Nutmeg Spice to finish - they need to blend into the grass (rather than the wood templates) so will need green and yellow adding in the same way as the boards.
And now for something completely different - I've finally got round to carrying on with the planes for my Dystopian Wars fleet. I wasn't happy with the green or red schemes in the end, and instead a "sea grey" was suggested. I thought that would fit in much better with the metallic look of the ships, so I got hold of some Vallejo Pale Grey Blue (my first Vallejo paint, and I already like them better than GW...) and painted the two Doncaster Bombers and the ten Fighter Tokens
Much better than either green or red in my opinion. They're slightly bluer than a real sea grey, but that's fine. As I plan on giving them a wash of Badab Black (the Bombers at least) that will darken them down a bit. I'm a bit wary that the black wash will make them too dark so it will be a bit of trial and error. The worst that can happen is that I'll have to repaint the grey, which isn't too much hassle...
A blog in which I chronicle my attempts to reduce the mass numbers of unpainted models in my possession, as well as wax lyrical about random whatnots...
Showing posts with label Dystopian Wars. Show all posts
Wednesday, 30 November 2011
Monday, 7 November 2011
Enter the Vanguard
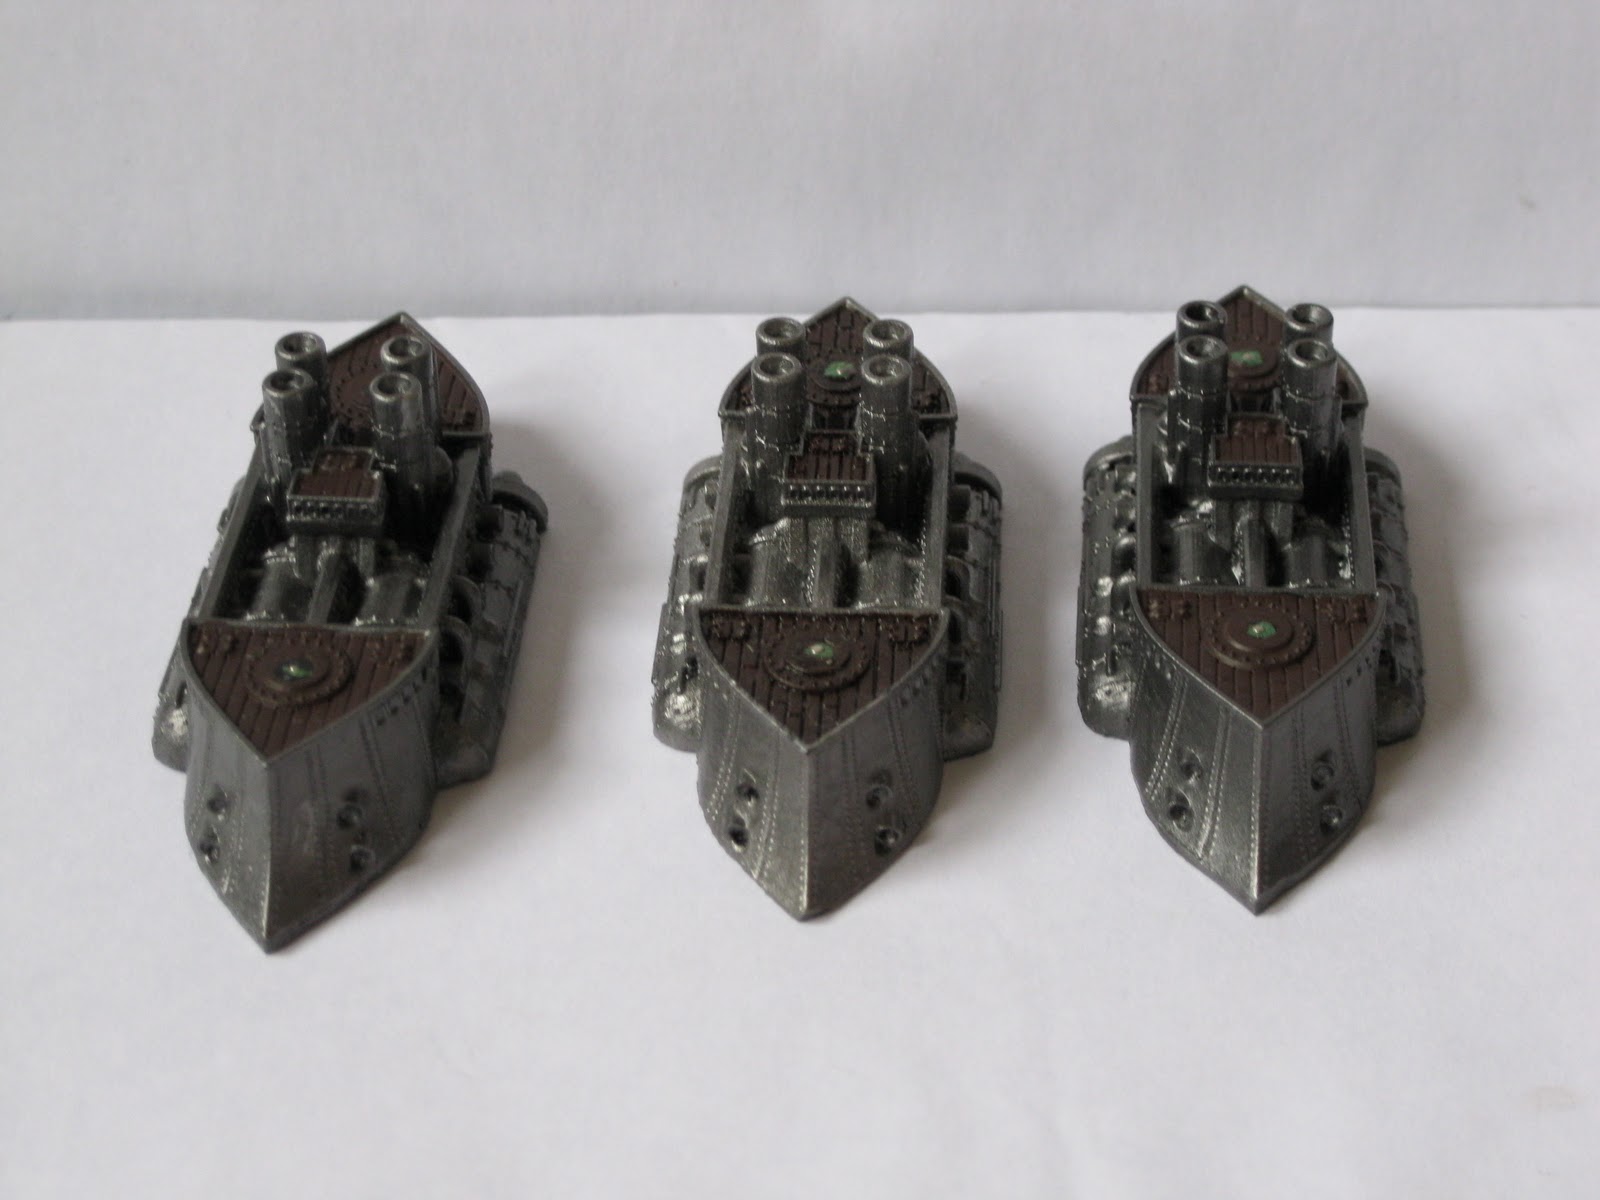
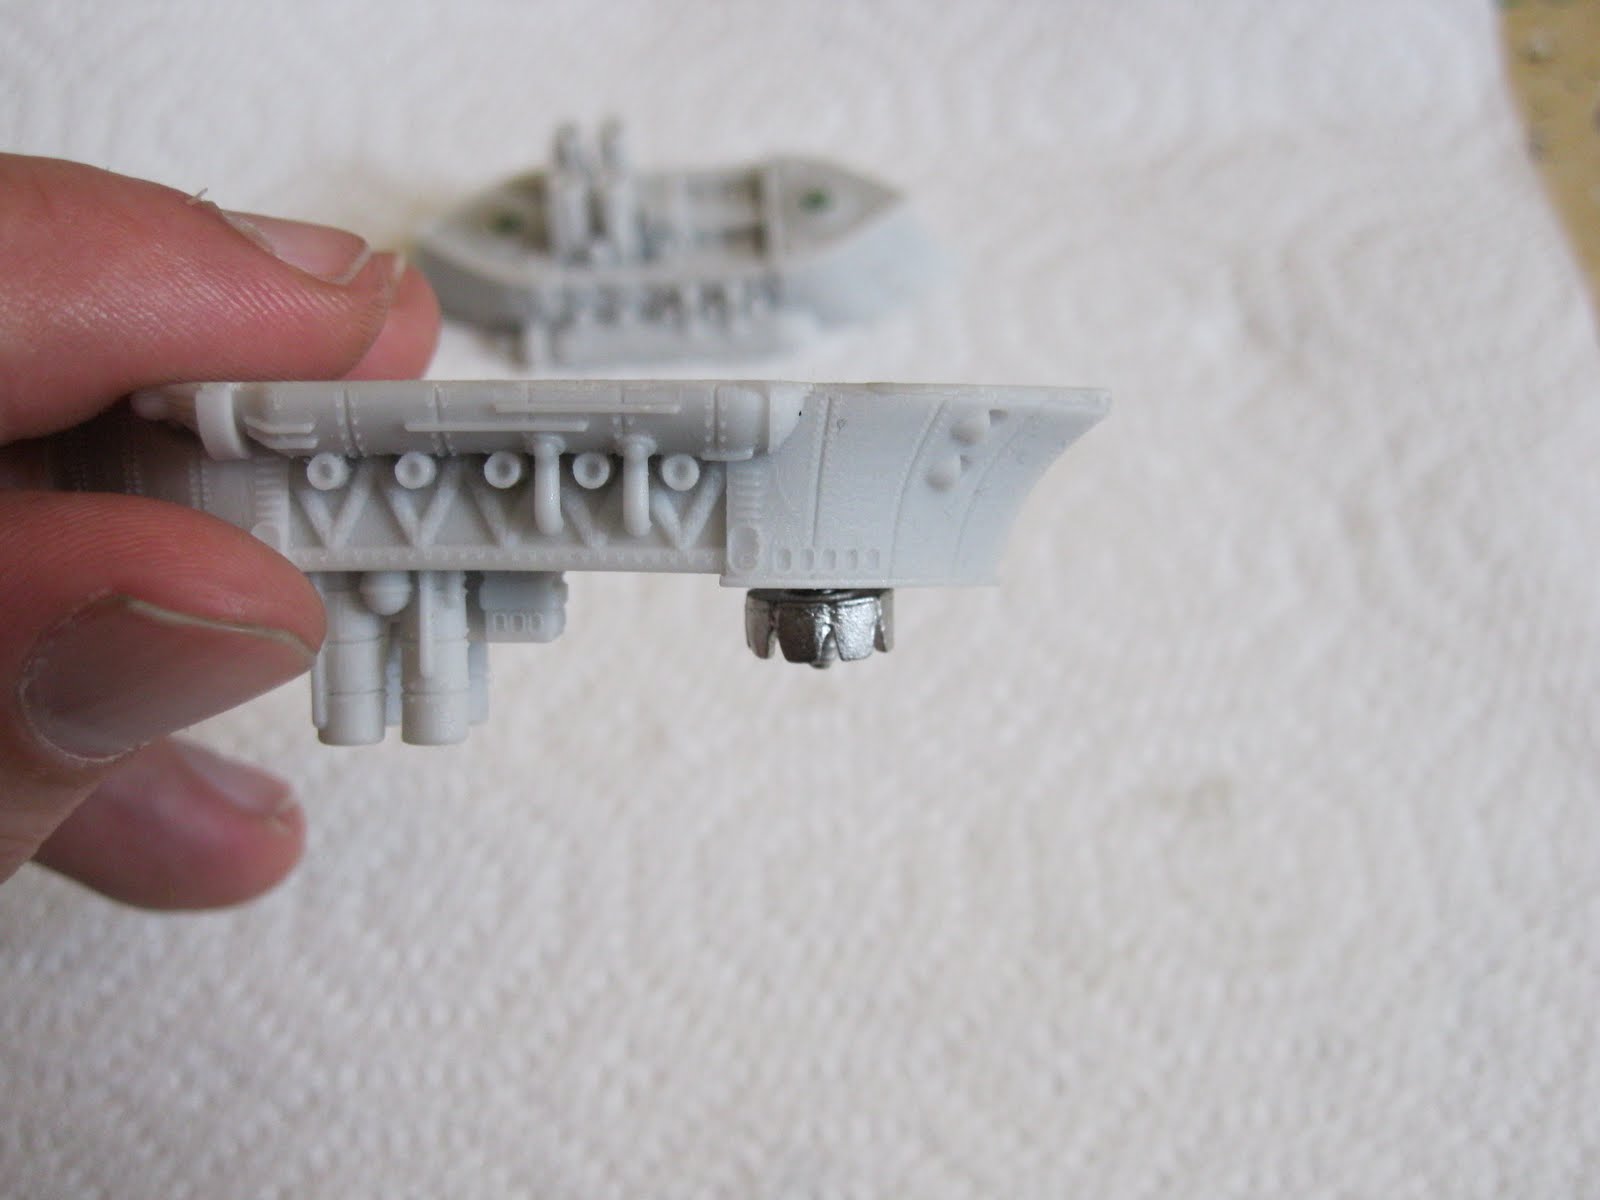
Just a quick one for now, to show off the completed Vanguard Subs for Dystopian Wars. I actually had these done more than a week ago but, as you can tell, I've sort of dropped off the blogging radar since my last post. A combination of reasons, but it has allowed me to "save up" material for several new posts, which will be coming over the course of the next week or so, including one big and rather ambitious project in the making! More on that soon...
Anyway, here are the subs. They're both painted the same, so I just took photos of one set for ease of viewing!
As I said earlier, I'll have to see how many of these I'm allowed in a fleet - they were surprisingly fun to paint (and quick!) so I might have to look at getting a couple more!
Thursday, 20 October 2011
Decision, decisions
OK, I've made a bit of progress with the Vanguard Subs, but it's the Fighter tokens I might need a bit of help with:
These are just tests; as you can see, I've done one base in red and the other in Catachan Green, to try and replicate the classic RAF look. But now I can't decide which one to use. So I turn to you, good readers (of which there probably aren't that many, but it's worth a shot...). Overall painting quality aside, which one looks better - red or green?
Comments, suggestions and whatnot gratefully received! I might even put up a poll...
Wednesday, 19 October 2011
Inspecting the Drydock
So in amongst the stuff I've been doing for the Sentinels of Shadows campaign (which you can read more about in this post, and which has now started!) I've been steadily working on the Dystopian Wars models.
The ships from the basic fleet are now simply waiting for me to add all the details. I'm closer to deciding on what to do with the razzle dazzle, so I'll probably get started on that on Thursday. In the meantime, here's where we are with the ships at the moment:
Meanwhile, I've broken the Vanguard Subs out of the blister and began work on them yesterday (Monday). Here they are prior to undercoating:
And at the close of play last night:
Personally, I think they look great already! I'll have to have a careful read of the rules for these and see how many I can fit into the fleet, because they're great fun to paint! Maybe it's the recent furore over Dreadfleet that's got me caught up in the whole "sea bases" thing...
Anyway, all that's left to do with the subs is to pick out the details on the subs themselves and to finish off the bases. In that regard, the Dreadfleet edition of White Dwarf has actually been quite useful in providing a painting scheme for the sea bases (not that I couldn't have worked one out for myself mind...)
Finally for Dystopian Wars - I've started work on the Fighter tokens as well:
These have just had the base painted with Regal Blue, followed by stippled Enchanted Blue. The stippling is more prominent on some than others (and the photos make it look a lot more prominent...) so I might go back and give the 'darker' ones another go-over. I've not decided what colour to paint the planes themselves, but I'm edging towards red simply to give a complete contrast to the ships, and to provide a completely subtle British military colour....
And now for something not-all-that-completely different - the Steam Tank:
As for yesterday morning, I'd got the basic metal basecoat done. Since then I've repainted the tracks black and that's about it. From here, I'm not entirely sure where to go. Aside from picking out all the rivets in Chainmail (boring...) I'll probably be looking for spots to throw in some colour and just break up the massive chunk of silver. Suggestions most welcome!
The ships from the basic fleet are now simply waiting for me to add all the details. I'm closer to deciding on what to do with the razzle dazzle, so I'll probably get started on that on Thursday. In the meantime, here's where we are with the ships at the moment:
Meanwhile, I've broken the Vanguard Subs out of the blister and began work on them yesterday (Monday). Here they are prior to undercoating:
And at the close of play last night:
Personally, I think they look great already! I'll have to have a careful read of the rules for these and see how many I can fit into the fleet, because they're great fun to paint! Maybe it's the recent furore over Dreadfleet that's got me caught up in the whole "sea bases" thing...
Anyway, all that's left to do with the subs is to pick out the details on the subs themselves and to finish off the bases. In that regard, the Dreadfleet edition of White Dwarf has actually been quite useful in providing a painting scheme for the sea bases (not that I couldn't have worked one out for myself mind...)
Finally for Dystopian Wars - I've started work on the Fighter tokens as well:
These have just had the base painted with Regal Blue, followed by stippled Enchanted Blue. The stippling is more prominent on some than others (and the photos make it look a lot more prominent...) so I might go back and give the 'darker' ones another go-over. I've not decided what colour to paint the planes themselves, but I'm edging towards red simply to give a complete contrast to the ships, and to provide a completely subtle British military colour....
And now for something not-all-that-completely different - the Steam Tank:
As for yesterday morning, I'd got the basic metal basecoat done. Since then I've repainted the tracks black and that's about it. From here, I'm not entirely sure where to go. Aside from picking out all the rivets in Chainmail (boring...) I'll probably be looking for spots to throw in some colour and just break up the massive chunk of silver. Suggestions most welcome!
Monday, 10 October 2011
The TARDIS Takes Off...
...although strictly speaking, I suppose it doesn't really fly. Regardless, work on the TARDIS has begun (hence the "taking off"!)
After a quick wash in soap and warm water, followed by a scrub with my brother's toothbrush (just kidding...) it was all ready to start. I have to say, the casting is top-notch which saved on any sort of maintenance work first (although it denied me the chance to use the new Liquid Green Stuff on air bubbles...)
One black undercoat and a coat of Regal Blue later:
I let it sit like this for a day or two, just out of sheer excitement - it already looks like a Police Box!
Today, I got over my nerdy Fanboy-ism and carried on painting. A 50/50 mix of Regal Blue and Enchanted Blue provided some line highlights (there are a lot of straight lines on this thing after all) and then a 75/25 mix of Regal Blue and Chaos Black provided a bit of shading in select areas (mainly the door panels).
You'll also notice I've started on the details, like the windows. The handles and keyhole were recoated black, ready to add metal. The windows and light have been give a basecoat of Skull White with a touch of blue (it occurred to me afterwards that I probably could have just used straight Ice Blue for this. Hindsight is a wonderful thing...). I originally tried to be neat and just paint the little boxes, but I quickly gave up and went for the "all over" approach. The Ice Blue-esque coat will get a highlight of pure Skull White, leaving the blue-white around the edges, and then I'll go back and repaint the window frames with Regal Blue.
You might be able to tell that I've also painted a box of the really dark blue on the door lintel (and the other three sides). That will be where the "Police Public Call Box" signs go, of course. Then it will be a simple case of adding the Police Notice on the left-hand door (or the right, depending on your point of view...) and we'll be done!
In other news, I've assembled the Steam Tank into sub-assemblies ready for painting:
These have all been thoroughly washed and scrubbed as well, and I'll probably get round to undercoating them tomorrow.
Meanwhile, I've finally managed to continue with the Dystopian Wars fleet:
Excuse the dodgy photo angle, but you can hopefully see that there's just one Cruiser left to undercoat. The Battleship (the big one of the right of the picture) and the painted Cruiser (top-left) are both on hold until I can figure out what sort of camoflage/razzle dazzle I want to do on the fleet, if any.
After a quick wash in soap and warm water, followed by a scrub with my brother's toothbrush (just kidding...) it was all ready to start. I have to say, the casting is top-notch which saved on any sort of maintenance work first (although it denied me the chance to use the new Liquid Green Stuff on air bubbles...)
One black undercoat and a coat of Regal Blue later:
I let it sit like this for a day or two, just out of sheer excitement - it already looks like a Police Box!
Today, I got over my nerdy Fanboy-ism and carried on painting. A 50/50 mix of Regal Blue and Enchanted Blue provided some line highlights (there are a lot of straight lines on this thing after all) and then a 75/25 mix of Regal Blue and Chaos Black provided a bit of shading in select areas (mainly the door panels).
| With Flash |
| And without |
You might be able to tell that I've also painted a box of the really dark blue on the door lintel (and the other three sides). That will be where the "Police Public Call Box" signs go, of course. Then it will be a simple case of adding the Police Notice on the left-hand door (or the right, depending on your point of view...) and we'll be done!
In other news, I've assembled the Steam Tank into sub-assemblies ready for painting:
These have all been thoroughly washed and scrubbed as well, and I'll probably get round to undercoating them tomorrow.
Meanwhile, I've finally managed to continue with the Dystopian Wars fleet:
Excuse the dodgy photo angle, but you can hopefully see that there's just one Cruiser left to undercoat. The Battleship (the big one of the right of the picture) and the painted Cruiser (top-left) are both on hold until I can figure out what sort of camoflage/razzle dazzle I want to do on the fleet, if any.
Thursday, 1 September 2011
Finally, some progress!
Time for an update on the WiP stuff then.
First up, Dystopian Wars.
I bought a Britannia fleet a while ago and after leaving them neglected for a few weeks after a few undercoating-related issues, I've slowly started working on them again. The Cruisers and Battleship all have various seperate turret pieces with them (Shield Generators and Gun Turrets in the set). There are loads of turret options in the DW rulebook so in a rare case of forward thinking, I thought it might pay dividends to make the turrets detachable, so that I could easily interchange any of the available options if Spartan Games make further turret options available in the future (as far as I know, only a few of the turret options detailed in the rulebook are actually available in miniature form). With that in mind, I set about magnetising the turrets.
Here you can see two of the Cruisers with the turret spaces magnetised. After a bit of thought about how to put my brilliant plan into action, I figured the best and easiest way was simply to fill the whole with Green Stuff and then press a tiny little neodymium magnet into the putty while it was curing. These magnets really are tiny - 1mm x 1mm! They are incredibly strong for their size though. I've had them for years, as I bought them originally so that I could magnetise all the weapon options for my fledgling Eldar force (which has now fallen by the wayside, as I've not played 40K for about 5 years!) On a side note, I've been looking into buying some more neodymium magnets (bigger ones) for magnetising bases, so we'll see how that pans out...
Anyway, with the magnets now firmly in place on the ships, the final stage was to do the same with the turrets. A quick snip with the cutters to remove the peg, a good filing to ensure a flat base and then a hole drilled into the base of the turret was all it look. Pop a bit of superglue in the hole, followed by the magnet (after getting the polarity right!) and voilĂ ...
With the magnetising done, the painting has now begun. I started off with a dark-metal basecoat (Chainmail and Black mix), and the wooden decking on the Cruisers and Battleship has now been painted with Scorched Brown and given a wash of Brown Ink (to get that glossy finish I like!). So far, the Frigates have only received the coat of dark-metal as there's no real decking area to speak of.
So a bit of progress with the fleet. I've still not decided on any sort of detail work, whether I'm going to do some 'Razzle Dazzle' on them or not, so we'll have to see.
In the meantime, I picked up some Tileans again last night and did a bit of work on them as well, just for fun and as something a bit different (given that I've not touched them for a few months now...)
I've gone through the whole unit and repainted the faces (pretty much the only flesh on the models) and started painting the red helmet plumes as well; I've got about halfway through the unit so far. I decided after a bit of consideration to go with Blood Red as the plume colour rather than Red Gore as originally planned. As I intend to "dip" these figures (or rather, paint them with a wash) the Red Gore would probably have come out darker than I'd intended, so hopefully the Blood Red will be a little better.
In other news, I've played a very enjoyable game of LotR this morning with my brother and I'm off to play more Uncharted Seas in about an hour. This week, we're running a four player game. Not sure whether it's going to be a free-for-all, a 2v2, a 3v1 or whatever, but we're looking at introducing an interesting mechanic for deployment involving a pack of playing cards, just to spice things up a little. Should be fun!
First up, Dystopian Wars.
I bought a Britannia fleet a while ago and after leaving them neglected for a few weeks after a few undercoating-related issues, I've slowly started working on them again. The Cruisers and Battleship all have various seperate turret pieces with them (Shield Generators and Gun Turrets in the set). There are loads of turret options in the DW rulebook so in a rare case of forward thinking, I thought it might pay dividends to make the turrets detachable, so that I could easily interchange any of the available options if Spartan Games make further turret options available in the future (as far as I know, only a few of the turret options detailed in the rulebook are actually available in miniature form). With that in mind, I set about magnetising the turrets.
Here you can see two of the Cruisers with the turret spaces magnetised. After a bit of thought about how to put my brilliant plan into action, I figured the best and easiest way was simply to fill the whole with Green Stuff and then press a tiny little neodymium magnet into the putty while it was curing. These magnets really are tiny - 1mm x 1mm! They are incredibly strong for their size though. I've had them for years, as I bought them originally so that I could magnetise all the weapon options for my fledgling Eldar force (which has now fallen by the wayside, as I've not played 40K for about 5 years!) On a side note, I've been looking into buying some more neodymium magnets (bigger ones) for magnetising bases, so we'll see how that pans out...
Anyway, with the magnets now firmly in place on the ships, the final stage was to do the same with the turrets. A quick snip with the cutters to remove the peg, a good filing to ensure a flat base and then a hole drilled into the base of the turret was all it look. Pop a bit of superglue in the hole, followed by the magnet (after getting the polarity right!) and voilĂ ...
With the magnetising done, the painting has now begun. I started off with a dark-metal basecoat (Chainmail and Black mix), and the wooden decking on the Cruisers and Battleship has now been painted with Scorched Brown and given a wash of Brown Ink (to get that glossy finish I like!). So far, the Frigates have only received the coat of dark-metal as there's no real decking area to speak of.
So a bit of progress with the fleet. I've still not decided on any sort of detail work, whether I'm going to do some 'Razzle Dazzle' on them or not, so we'll have to see.
In the meantime, I picked up some Tileans again last night and did a bit of work on them as well, just for fun and as something a bit different (given that I've not touched them for a few months now...)
I've gone through the whole unit and repainted the faces (pretty much the only flesh on the models) and started painting the red helmet plumes as well; I've got about halfway through the unit so far. I decided after a bit of consideration to go with Blood Red as the plume colour rather than Red Gore as originally planned. As I intend to "dip" these figures (or rather, paint them with a wash) the Red Gore would probably have come out darker than I'd intended, so hopefully the Blood Red will be a little better.
In other news, I've played a very enjoyable game of LotR this morning with my brother and I'm off to play more Uncharted Seas in about an hour. This week, we're running a four player game. Not sure whether it's going to be a free-for-all, a 2v2, a 3v1 or whatever, but we're looking at introducing an interesting mechanic for deployment involving a pack of playing cards, just to spice things up a little. Should be fun!
Sunday, 14 August 2011
Slow Progress...
Well, nothing much to show for it at the moment, but I have managed to pick up a paintbrush at least. Started basecoating the Dystopian Wars ships; I'm starting with a blackened steel (read: Chainmail mixed with plenty of Chaos Black) basecoat on the metal, while the decks are getting recoated with white before receiving a wash with my precious store of Brown Ink! Devlan Mud just won't cut it for the "highly polished wooden decking" look I want. Meanwhile, I'm looking into various 'Razzle Dazzle' camoflage schemes for use on the ships. Not 100% set on going down this route yet, but it does look good.
In other news, progress is being made with the Miniature Exchange figure. Most of the basecoats are done, so it's mostly on to the detail work now. Not long left to get it finished, so I'll be wrapping it up over the next couple of weeks to hit the deadline.
Next time, I'll try and get some pictures!
In other news, progress is being made with the Miniature Exchange figure. Most of the basecoats are done, so it's mostly on to the detail work now. Not long left to get it finished, so I'll be wrapping it up over the next couple of weeks to hit the deadline.
Next time, I'll try and get some pictures!
Subscribe to:
Posts (Atom)